Your Cart is Empty


How to Make Wood Panel Walls Look Good with Wallplanks
Wallplanks is here to walk you through making your wood panel walls stand out and look extraordinary. These do's and don'ts may prove vital to your next wood accent project. Our peel-and-stick Wallplanks make it simple to transform any room into something special. Read through these tips to make your home's interior unique with a look of seamless craftsmanship.
Think Outside the Box
While installing shiplap wood paneling makes for an awesome accent wall, that's not the only place it can be used. Try incorporating a cool new look to your ceiling, cabinets or fireplace. The options are limitless! With their ease of installation and super-secure adhesion formula, Wallplanks' products are perfect for the imaginative DIY-er.
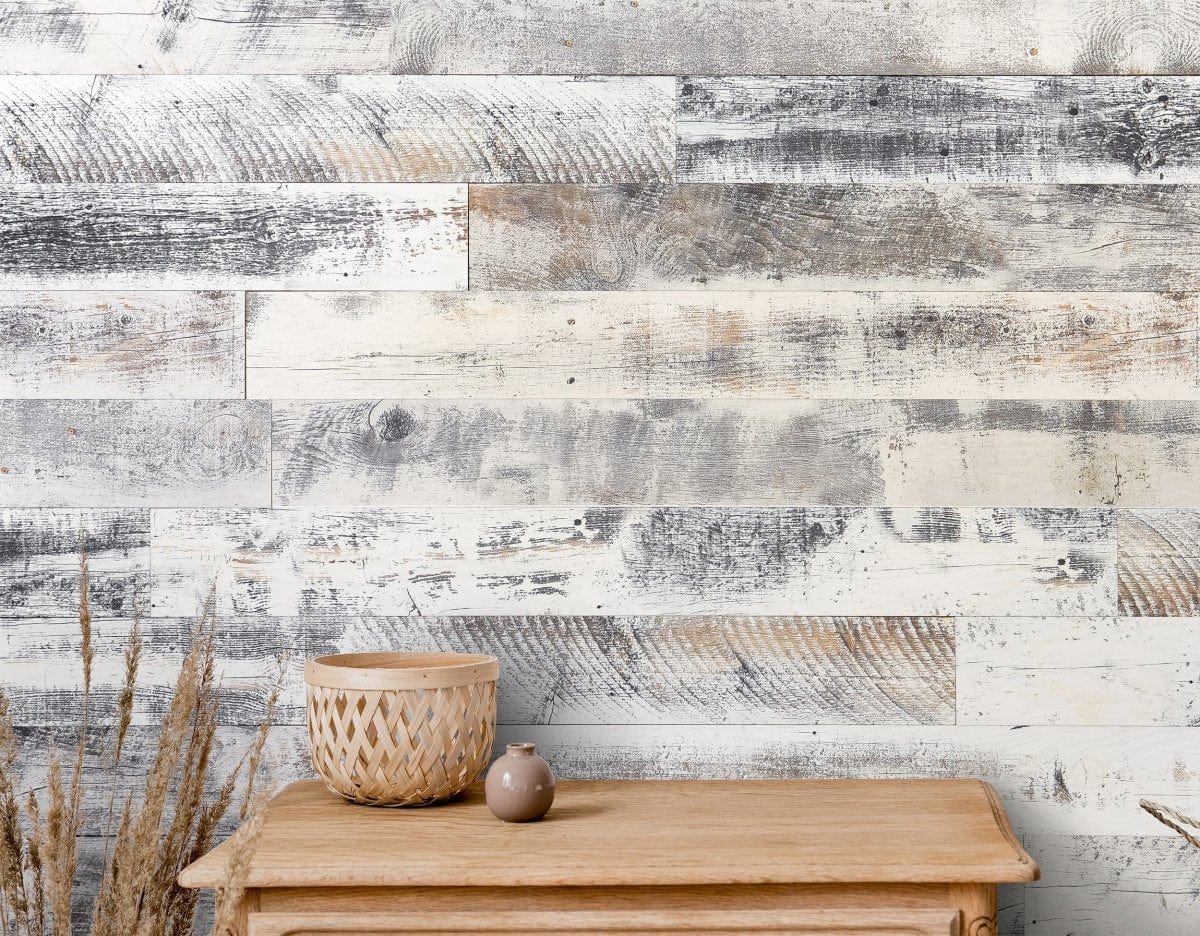
Neutral Doesn’t Mean Boring
If your interior is loaded with neutral colors, there can be the danger of style boredom. Break free of a lifeless motif by installing wood panel accents in richer, more vibrant hues. The beauty of woodgrain lends interest, an earthy ambience and an infusion of unique character. Rejuvenate your space easily and affordably.
Take it in a Different Direction
Most of us assume that wood paneling should be installed horizontally. Well, scratch that. Your planks can go anyway you please! This includes vertical, diagonal, patchwork, chevron or however else you can think of. Banish the boring and transform the typical into something creative and distinctly yours.
Don’t Lose Your Outlets
Before you install Wallplanks, be sure to mark the location of your wall's power outlets. We recommend outlining them on the peel-and-stick panels before removing the paper lining covering the adhesive. Cut them out and do a trial fit before removing the lining and installing. For small-area cuts, drill a starter hole before continuing with a jigsaw or scroll saw.
Use Wallplanks’ Handbook
Refer to our Wallplanks Installation Instructions for a complete guide to the proper use of our products. Our main pro tips:
1) Dry-lay your panels out, using planks from several cartons, before beginning to put them up. This will give you the opportunity to arrange the planks, which vary beautifully with irregular woodgrain knots and marks, and plan your installation design for the best appearance.
2) If doing a horizontal installation on a wall, it is very important to establish a 100% level starting line for the first plank. To help ensure an absolutely straight starter line with the first plank, we recommend you tap 1½" finish nails halfway into the wall, every 12" along the starting line.
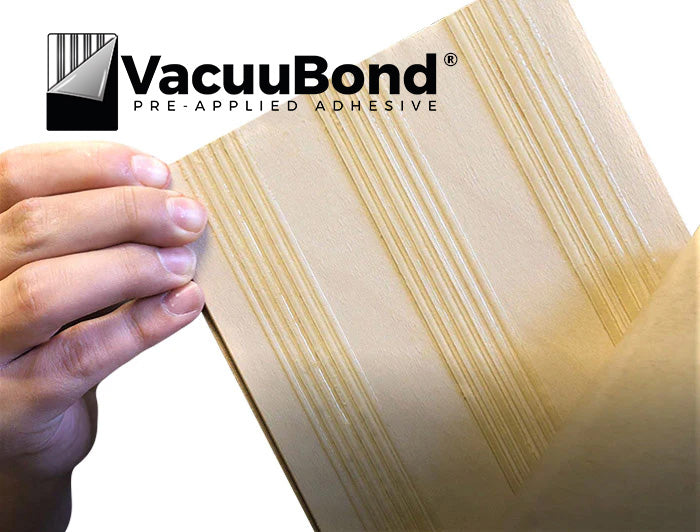
3) Position the planks before you peel off the liner masking the adhesive; once the adhesive is in contact with the wall surface, the planks can't be easily moved or adjusted.
Wallplanks panels are nearly maintenance free. But to keep them looking beautiful year in and year out, damp wipe using our eco-friendly, safe and gentle-on-your-walls Wallplanks Wood Wall Covering Cleaner semi-regularly.
If you have any question that isn't addressed in our guide or instructional videos, check out our FAQ page.Someone else may have had the same question! But if not, contact us. Our team members are ready to assist you.