Your Cart is Empty
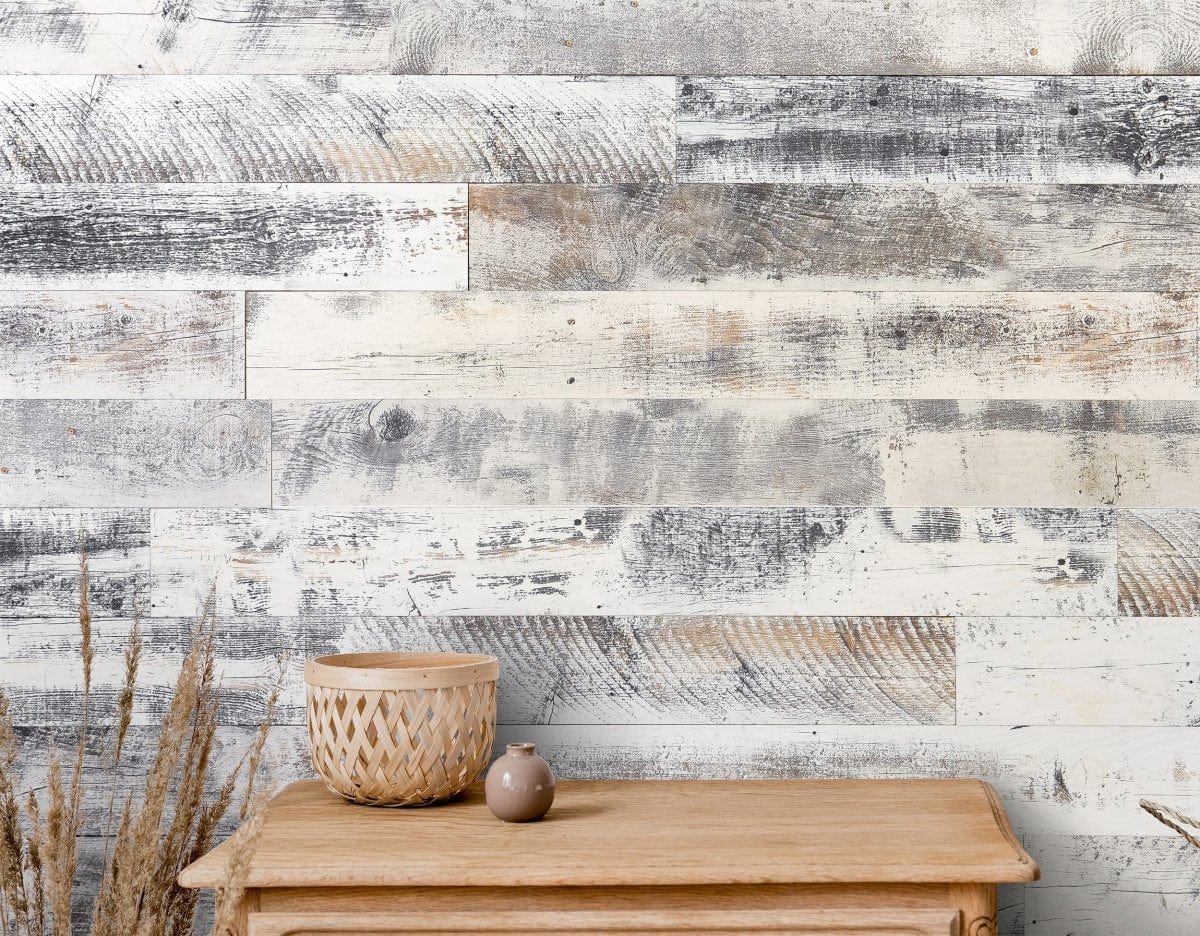


Click & Lock Wall Installation Guide
Please inspect the planks prior to installation. Contact customer service before installing if there are any cosmetic concerns. Read instructions thoroughly before beginning installation. Instructions must be followed in order for warranty to remain effective.
Required tools and materials:J-roller, 4' level, TSP (trisodium phosphate) for cleaning sub wall, a pencil, saw (miter saw, jigsaw, hand saw with miter box), a hammer & a few finishing nails.
The planks can be installed on any structurally sound, clean, dry, and flat surface. To install as flooring, please refer to flooring installation instructions.
Cement block, plaster, plywood and gypsum surfaces should have a minimum of one coat of primer sealer prior to installation.
If you are installing in a bathroom, it is highly recommended to use a brad nailer into the studs in addition to the pre-applied adhesive.
Do not install Wallplanks in a steam room, sauna or as a shower wall.


1. Clean and dry the surface
Turn off power to installation area while working around wall outlets and light switches. Remove electrical cover plates, protruding nails and loose paint. Sponge wash with TSP (trisodium phosphate), available in hardware stores or home centers, to remove residues of greasy grime, mildew, chalked paint or anything that might affect the bond of the VacuuBond™ adhesive. If wall has a heavy drywall texture, it will need to be block sanded and primed so the VacuuBond™ adhesive can achieve a firm bond. Wallplanks can be installed over well bonded smooth wallpaper. Textured wallpaper should be removed and wall cleaned with TSP prior to installing wallplanks. After the wall are thoroughly cleaned, the walls also must be thoroughly dried.


2. "Dry Lay" the planks
Work from several open boxes and “dry lay” before permanently installing to create your desired look. This step is especially important for the options with multicolor boards in each carton. You must dry lay your planks to ensure you installation is aesthetically pleasing due to color variation and 20% of the planks you receive are not the full 47" long.


3. Adding trim pieces
For walls that have outside corners, a trim piece may need to be purchased separately to create a finished look. If trim pieces are needed on your project, measure 1 3⁄4" back from where you wish the wall to end and then draw a vertical plumb line using your level. This line will be your guide to where the planks need to be cut. The trim piece is made to overlay the edges of the plank and should be nailed to the wall using small finishing nails after the entire wall is installed.


4. Establish your starting line
There are multiple ways you can establish your starting line. The most important aspect of establishing your starting line is to ensure that the first row of planks you install is 100% level. If your baseboard and ceiling are level, you can use one or the other to establish your starting line. If neither your baseboard or ceiling are level, you will need to establish a level line across the wall. With the use of a pencil and a 4' level, you can establish a starting line across your wall at eye level. DO NOT adhere the plank until you have it placed in the right position. Once the material is adhered to the wall it will be very difficult to reposition.
TIP: To help ensure an absolute straight starter line with the first plank, we recommend you tap 1 1⁄2" finish nails halfway into the wall along the starting line at every 12". The protruding nails will help position the starter planks along the starting line before they are adhered to the wall. This procedure will not be possible when installing over a block wall. Use extra caution to ensure your first row is straight if you are not able to use nails as a guide.


5. Applying the planks
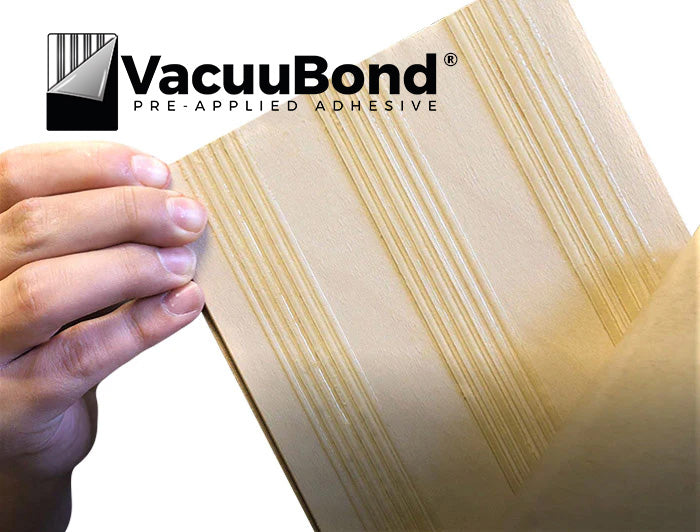
Starting on the left side of the room, using the starling line (and nails )as a guide, peel the paper off the VacuuBond® adhesive and position the starter row planks groove side up along your line. Press into place and J-Roll each plank immediately after installation. If you placed positioning nails in the wall in Step 4, remove them now.


6. Stagger the planks
Now that your level starter row is in place, stagger the end joints as you work your way up and down the wall, so that your end joints do not match up from row to row. To accomplish this look and minimize your waste, use your cut off piece from one row to start the next row.


7. Unique marks
Mark locations of light switches, electrical outlets and air vents on the planks before removing the paper liner on the tape, Cut and trial fit before installing. These cuts can be made using a drill to create a starter hole if necessary and then cutting with a jig saw or scroll saw.


8. Cutting the planks
For walls that have outside corners, a trim piece may need to be purchased separately to create a finished look. If trim pieces are needed on your project, measure 1 3⁄4" back from where you wish the wall to end and then draw a vertical plumb line using your level. This line will be your guide to where the planks need to be cut. The trim piece is made to overlay the edges of the plank and should be nailed to the wall using small finish nails after the entire wall is installed.


9. Installing the top and bottom rows
When installing your top and bottom rows, the planks can be cut lengthwise by using a jigsaw or table saw.
10. J-Roller
To help set the VacuuBond™ adhesive after the installation is complete, the wall must be rolled using a J-roller to insure the bond. Not using a J-roller can lead to failed adhesion. If a trim piece is used to finish the installation, it can now be installed. Refer to Step 3 for trim installation instructions.


$18.99/Box
This J-Roller enables the installer to apply pressure evenly to Wallplanks, thus providing maximum Vacuubond-adhesion. Using a J-Roller is a very important step in the Wallplanks installation process. Adding pressure by rolling this tool over your planks ensures that our Vacuubond technology seals the planks tightly onto the wall. The J-roller should be used after every plank is installed and again after the entire installation is complete.
This product features a super-comfortable grip, thus ensuring user flexibility. Ease of use means you can focus on the task at hand; creating master craftsmanship. Top-notch tool, outstanding results.
| Product Name | J-Roller |
| SKU | WPJROLL |
| Dimensions | 12.5" x 5" x 1.5" |
| Package Size | 13" × 10" x 2" |
| Package Weight | 9.6 oz |
| Roller Diameter | 3" |
| Roller Thickness | 1.5" |
| Use for | The J-Roller can be used in the installation process for linoleum, vinyl, and carpet, but may not be necessary for those installation methods. |
11. Ceiling Installations
For installation on ceilings, follow steps 1-10 and use 1" brad nails every 16” on the left and right side of the plank to further secure the planks to the ceiling. Or watch our affiliates ceiling installation video here.


TIP: For extra assurance and added protection, apply primer to your wall prior to installation and use a nail gun with 1" brad nails in addition to the VacuuBond® pre-applied adhesive. If needed, you may use some filler and a touch up marker to blend the nail hole in with the finish.