Your Cart is Empty


Shiplap 101: Understanding the Basics of this Design Element


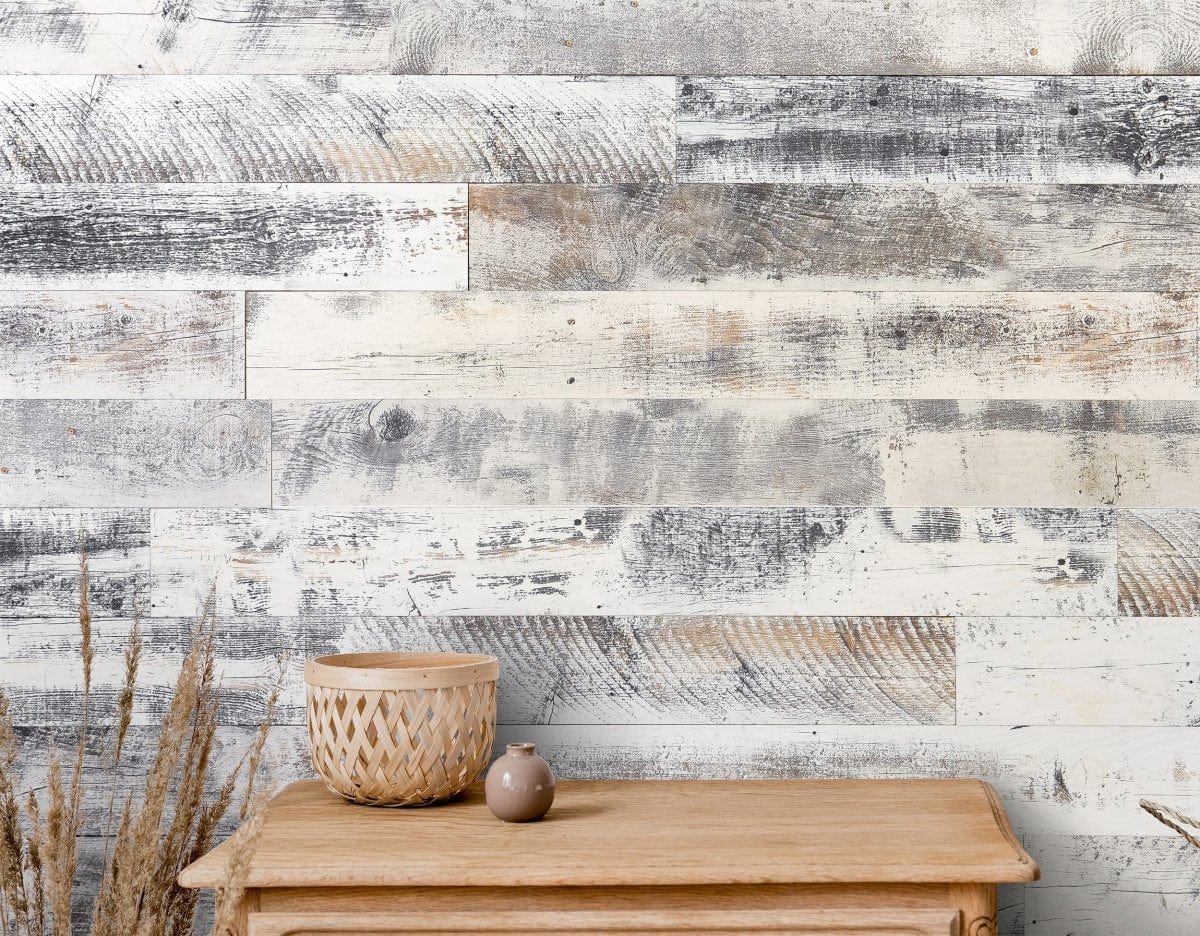
In recent years, shiplap has become an increasingly popular design element in homes across the country. With its rustic charm and versatile applications, shiplap can add a touch of character and warmth to any space. But what exactly is shiplap, and how can you use it in your own home?
What is Shiplap?
Shiplap is a wooden board commonly used as exterior siding on barns, sheds, and other rustic buildings. Traditionally, shiplap boards are installed horizontally, with each board overlapping the one below it to create a watertight seal. This overlap is what gives shiplap its distinctive look, with the grooves between the boards adding texture and visual interest to the surface.
In recent years, shiplap has made its way indoors, where it is commonly used as a decorative wall covering. Interior shiplap is typically installed vertically, with the tongue-and-groove edges of the boards fitting together to create a seamless, continuous surface. This vertical installation method can help visually elongate a room and create a sense of height and grandeur.
Using Shiplap in Your Home
One of the main reasons for shiplap's popularity is its versatility. This design element can be used in various ways to enhance a room's look and feel. Here are some ideas for incorporating shiplap into your own home:
1. Accent Wall: One of the simplest ways to use shiplap is as an accent wall Read More. Covering one wall in a room with shiplap boards allows you to create a focal point that draws the eye and adds visual interest to the space. Consider painting the shiplap in a contrasting color to make it stand out even more.
2. Ceiling Treatment: Shiplap isn't just for walls - it can also be used to add interest to ceilings. Installing shiplap on the ceiling can create a cozy, intimate feel, especially in rooms with high ceilings. This can be particularly effective in bedrooms, living rooms, or dining rooms.
3. Wainscoting: Another popular use for shiplap is wainscoting. By installing shiplap panels on the lower half of a wall, you can add texture and visual interest to the space while also protecting the wall from damage. Wainscoting is a classic design element that can add a touch of elegance to any room.
4. Kitchen Backsplash: Shiplap can also be used as a unique and eye-catching backsplash in the kitchen Read More. This application can add a rustic, farmhouse feel to the space, and the vertical installation can help to visually break up a wall of cabinets or appliances.
Installing Shiplap
If you're considering adding shiplap to your home, there are a few things to remember regarding installation. While shiplap is relatively easy to install, it's important to take your time and ensure that each board is properly aligned and secured. Here are some tips for installing shiplap:
1. Prepare the Wall: Before installing shiplap, it's important to prepare the wall by removing any existing trim, patching any holes or imperfections, and sanding the surface smooth. This will ensure the shiplap boards sit flush against the wall and create a seamless finish.
2. Mark the Studs: When installing shiplap, it's important to nail each board into a stud to ensure a secure hold. Use a stud finder to locate the studs in the wall and mark their positions with a pencil before starting installation.
3. Start at the Bottom: When installing shiplap, it's best to start at the bottom of the wall and work your way up. This will help to ensure that each board is properly aligned and that the grooves between the boards are even.
4. Use a Level: Throughout the installation process, be sure to use a level to ensure that each board is straight and properly aligned. This will help create a professional-looking finish and prevent unsightly gaps or unevenness.
Wallplanks: Your Source for High-Quality Shiplap
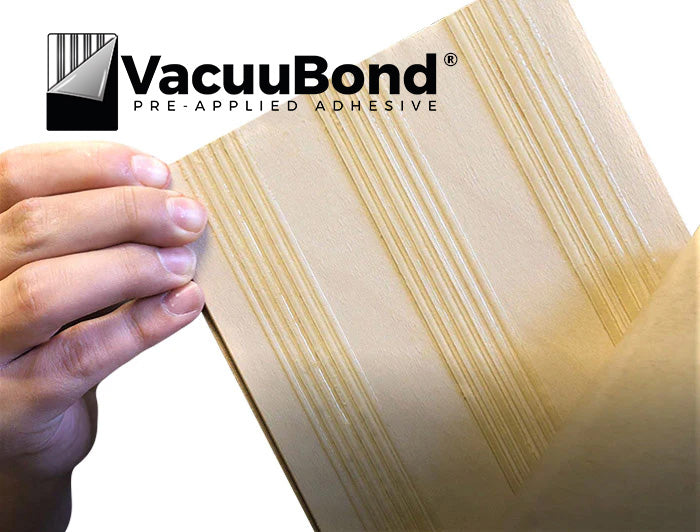
If you're ready to add shiplap to your home, look no further than Wallplanks. We are dedicated to providing high-quality shiplap products Shop Now that are easy to install and built to last. Our shiplap planks are hand-checked for quality before shipping, ensuring you receive a product that meets our high standards.
At Wallplanks, we believe you should live in spaces you love. That's why we created a product that anyone can use and install, whether you are seasoned at doing it yourself or just starting out. Your satisfaction is our goal, so we test our products for longevity and durability.
With Wallplanks, adding shiplap to your home has never been easier. Our shiplap planks are available in a variety of colors and finishes to suit any style or decor, and our easy-to-follow installation instructions make it simple to achieve a professional-looking finish. Whether you're looking to update a single room or transform your entire home, Wallplanks has everything you need to create a space that you love.