Your Cart is Empty


How to Use Wood Panels for Walls to Elevate Your Home Design


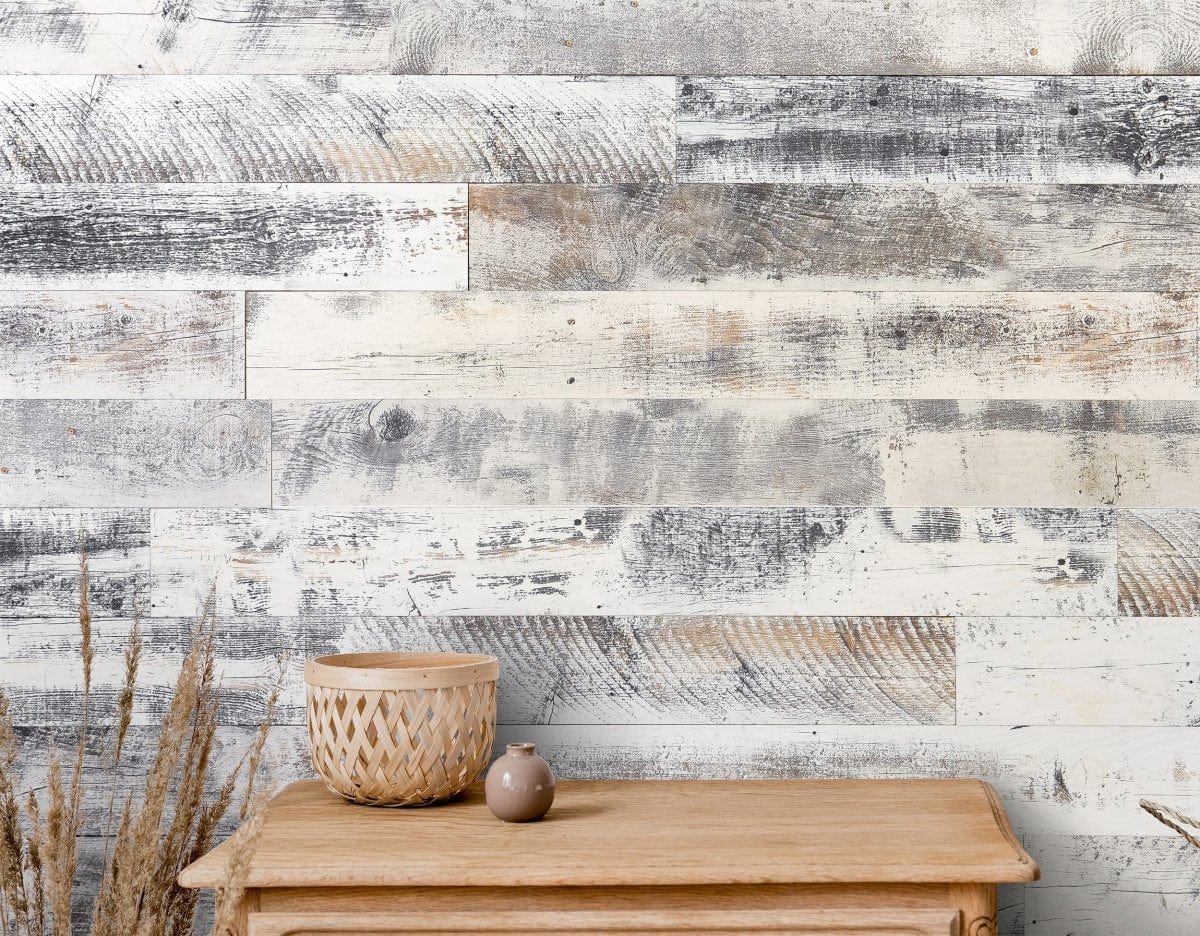
If you’re looking for a high-impact, low-disruption way to transform a room, wood panels for walls are a smart, timeless choice. They add dimension, warmth, and architectural interest without a full-scale renovation. Whether you’re refreshing a single accent wall or planning a whole-home makeover, wall panels can bring cohesion to your design, anchor a color palette, and subtly improve acoustics and durability. Below, you’ll find practical guidance—grounded in design best practices—plus creative ideas to help you use decorative wall panels with confidence.
Why Wood Wall Panels Work
Wood wall panels succeed because they solve multiple design problems at once:
-
Depth and texture: Flat paint can leave a room feeling unfinished. Wood’s natural grain and shadow lines create a visual rhythm that feels complete.
-
Zone definition: Panels help delineate spaces in open plans—think a slatted backdrop behind a sofa or headboard to define seating and sleeping zones.
-
Style range: From modern slats to classic shiplap and tailored picture-frame molding, panels adapt to nearly any architectural style.
-
Durability: Properly finished wood stands up to everyday wear better than drywall alone, making it ideal for high-traffic areas.
-
Acoustic comfort: The dimensional surface helps diffuse sound, reducing harsh echoes in hard-surface spaces.
Plan First: Setting a Clear Design Direction
Before you order materials, take time to articulate your intent. A few planning questions will sharpen your decisions and prevent false starts:
-
What problem are you solving? Flatness? Echo? A blank, oversized wall? A dated fireplace?
-
What mood do you want? Cozy and rustic, clean and minimal, or tailored and traditional?
-
How permanent should it be? Accent walls are easy to change later; full-room paneling makes a stronger, long-term statement.
-
What’s the light like? Sun-drenched rooms can handle deeper stains; darker rooms benefit from lighter finishes.
Measure carefully (length × height), then add a buffer for offcuts and pattern matching. If your manufacturer recommends acclimation to your home’s temperature and humidity, build that time into your schedule. Always follow the product’s installation guide for the best results.
Design Ideas by Room
Entryway: Make a Confident First Impression
A paneled entry instantly feels finished. Try vertical boards to pull the eye up and counter low ceilings, or a half-height wainscot with a durable, wipeable finish. Add simple hooks and a picture ledge to create a hardworking drop zone that still looks polished.
Living Room: Frame the Focal Point
Use panels to reinforce the room’s natural focal point—usually the fireplace or TV wall. A full-height panel field in a quiet, neutral tone grounds the seating area and makes the rest of the décor feel intentional. For a modern look, consider narrow slats spaced evenly for crisp lines and gentle sound absorption.
Dining Room: Architected Warmth
Wall panels bring gravitas to dining rooms without heavy furniture. A ⅓ or ⅖ height wainscot topped with a coordinating chair rail creates a classic profile; paint the upper wall in a complementary color to highlight artwork and lighting.
Kitchen: Texture Without Clutter
In kitchens, limit panels to areas away from heavy splash zones—such as a breakfast nook or banquette wall. Vertical paneling behind a casual dining area makes the space feel built-in. Keep profiles simple so they won’t compete with cabinet lines and hardware.
Bedroom: Calm, Cohesive Backdrops
A paneled headboard wall turns a bedroom into a retreat. For a serene feel, run panels horizontally to broaden the room visually. For height, run them vertically. If you prefer a hotel-inspired look, create a framed panel field centered on the bed and flank it with integrated sconces.
Home Office: Professional and Video-Ready
A subtle panel treatment behind your desk elevates your on-camera background. Choose a neutral wood tone that flatters skin tones and reduces glare. Integrate a floating shelf or two to display minimal décor—books, a plant, and one object with personal meaning is enough.
Hallways and Nooks: Small Moves, Big Payoff
Short runs of paneling can convert “forgotten” spaces into design moments. Try a simple half-height treatment along a hallway to protect walls from scuffs and add rhythm. In a reading nook, panels define the space and visually separate it from adjacent areas in an open plan.
Patterns and Layouts That Elevate
Horizontal vs. Vertical
-
Horizontal boards make walls appear wider—ideal for narrow rooms or long corridors.
-
Vertical boards draw the eye up and can make standard ceiling heights feel more generous.
Herringbone and Chevron
These directional layouts create movement and make an excellent focal wall. Use them sparingly—a single herringbone feature in a living room or dining space has a tailored, custom look without overwhelming the room.
Slat Walls
Evenly spaced slats deliver a modern profile, clean lines, and acoustic comfort. Use them behind media units, along a staircase wall, or to flank a doorway for a subtle architectural frame.
Picture-Frame and Grid Molding
For a classic, transitional look, lay out a grid of evenly spaced frames. Keep proportions consistent: taller walls look best with three or four stacked rows; shorter walls can feel balanced with two. This style shines in living and dining rooms where you want quiet sophistication.
Wainscoting Heights
As a rule of thumb, aim forbetween one-third and two-fifths of the wall height. That keeps the room’s proportions pleasing and leaves enough space above for art or sconces. Cap the top edge with a simple ledge or trim for a finished look.
Finish Choices and Color Strategy
Natural and Light Woods
Light, natural finishes (think birch, maple, or light oak tones) keep spaces bright and pair well with white walls, stone, and brushed metals. They work especially well in modern Scandinavian-inspired interiors.
Mid-Tone and Warm Stains
Honey and walnut tones add richness without reading as heavy. Use mid-tones to warm up rooms with cool stone or concrete flooring, or to complement leather and woven textures.
Deep, Dramatic Hues
Charcoal or espresso finishes bring drama and intimacy—great for dining rooms, powder baths, and moody libraries. Balance darker panels with soft furnishings and adequate lighting.
Painted Panels
Painted wood panels offer the texture of real wood with any color you like. Color-match to trim for a monochrome, architectural look, or contrast panels against crisp white to make the pattern pop.
Installation Best Practices (High-Level)
-
Surface Prep: Walls should be clean, flat, dry, and sound. Remove loose paint and fill major depressions so panels seat properly.
-
Layout First: Dry-fit a few rows to confirm spacing, alignments, and pattern starts. Snap level lines and find stud locations where fastening is required.
-
Acclimation: If your product requires it, let panels acclimate to room temperature and humidity before installation to help maintain stability.
-
Expansion Gaps: Leave manufacturer-recommended clearances at edges and transitions.
-
Safe Cutting: Use appropriate protective equipment and sharp blades suited for engineered wood; cut slowly for clean edges.
-
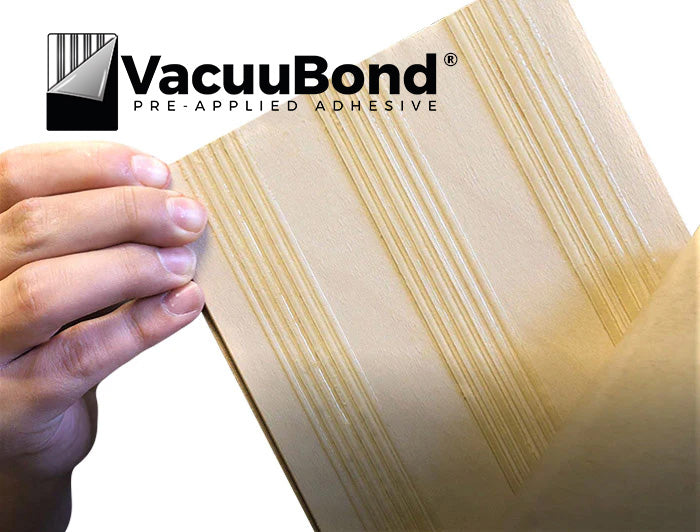
Follow the Guide: Every product is different—adhesives, fastening methods, and finishing steps vary—so rely on the specific instructions that come with your panels.
Maintenance That Keeps Panels Looking New
-
Routine Cleaning: Dust with a microfiber cloth or soft brush attachment. Spot-clean with a damp cloth; avoid overly wet methods.
-
Protect from Moisture: In kitchens and baths, follow finish recommendations and ventilation best practices. Wipe splashes promptly.
-
Sun Management: Use window treatments where strong direct sunlight may cause a gradual color change over many years.
-
Seasonal Check-Ins: In regions with big humidity swings, confirm trim and transition pieces remain snug and re-caulk where necessary.
Smart Styling: How to Make Panels Sing
-
Layered Lighting: Panels love light. Use wall washers or adjustable recessed lights to graze the surface, revealing grain and shadow.
-
Selective Art: Don’t overfill—allow some panel areas to remain open so texture can breathe. When you do hang art, use consistent spacing and simple frames.
-
Warm + Cool Balance: If your panels are warm-toned, balance with cooler metals (brushed nickel, blackened steel) and crisp textiles. With cooler wood tones, add warmth via leather, wool, or aged brass.
-
Material Mix: Panels pair beautifully with stone, plaster, and fabric. A single stone mantle against a wood paneled wall, for example, looks curated, not cluttered.
Common Mistakes to Avoid
-
Overpatterning: Combining complex panel layouts with busy floors or heavy drapery can feel chaotic. Pick one statement and simplify the rest.
-
Ignoring Scale: Tiny slats in a two-story great room get lost; oversized boards in a powder bath can overwhelm. Match board width and panel size to the room’s scale.
-
Stopping Without a Plan: Think through corners, door trims, and baseboards before you start. Clean terminations are what make paneling look custom.
-
Color Drift: If you’re mixing panel finishes across rooms, keep undertones consistent (all warm or all cool). A simple sample board under your actual lighting is invaluable.
Sustainability and Sourcing Considerations
Thoughtful sourcing reduces environmental impact and supports consistent quality. Panels manufactured in the United States fromNorth American materials minimize transport distance and help ensure transparent supply chains. Choosing durable, high-performing products that last for years is one of the most sustainable design decisions you can make.
Budgeting and Phasing
If you’re paneling multiple rooms, consider a phased approach: start with the most visible wall (often the living room focal wall), then carry materials into adjacent spaces for continuity. This spreads cost and decision-making over time while maintaining a cohesive look. Order enough material for the current phase plus a small reserve for future touchups.
Why Choose Wallplanks
When you’re ready to turn ideas into reality, partnering with a specialist brand ensures your results look and perform as intended.Wallplanks is a U.S. company based inWeston, Wisconsin, founded in2017 by industry expertTryggvi Magnusson. From the outset, Tryggvi’s goal has been straightforward: developdurable, beautiful, high-performing wall products that are easy to use and transform interiors with minimal disruption.
Wallplanks products are manufactured by our parent company,From the Forest, LLC, founded in2007 and widely recognized as an industry flagship in manufacturingpremium hardwood flooring in the United States. That heritage—precision milling, quality control, and finish expertise—translates directly into wall products that install cleanly and age gracefully. Importantly,all materials are sourced from North America, aligning with the quality, consistency, and sustainability considerations many homeowners and designers prioritize today.
Beyond heritage and sourcing, you’ll find designs that span styles—from understated naturals to sophisticated contemporary looks—so you can create continuity across rooms or tailor the character of each space. And because ease of use is central to the Wallplanks philosophy, you can plan your project with confidence, knowing the products are engineered for straightforward installation when you follow the provided guidelines.
Bringing It All Together
Wood wall panels shine when they’re used with intention: the right pattern for the room’s proportions, a finish that complements existing materials, lighting that highlights texture, and a clean plan for terminations and transitions. Start with a focused goal (define a focal wall, add warmth to a minimal room, or create a serene bedroom backdrop), then select a panel profile and finish that serve that goal. Take measurements, mock up your layout, and—most importantly—choose products with proven manufacturing quality and clear installation guidance.
Ready to Elevate Your Home?
If you’re excited to explore the possibilities,Wallplanks is ready to help. With roots in premium U.S. wood manufacturing, North American-sourced materials, and a design-first approach, we’re a trusted partner for projects large and small. Browse collections, request samples, and get expert guidance for your space. Let’s transform your walls—and the way your home feels—one panel at a time.