Your Cart is Empty


5 Common Mistakes Installing Wood Panels


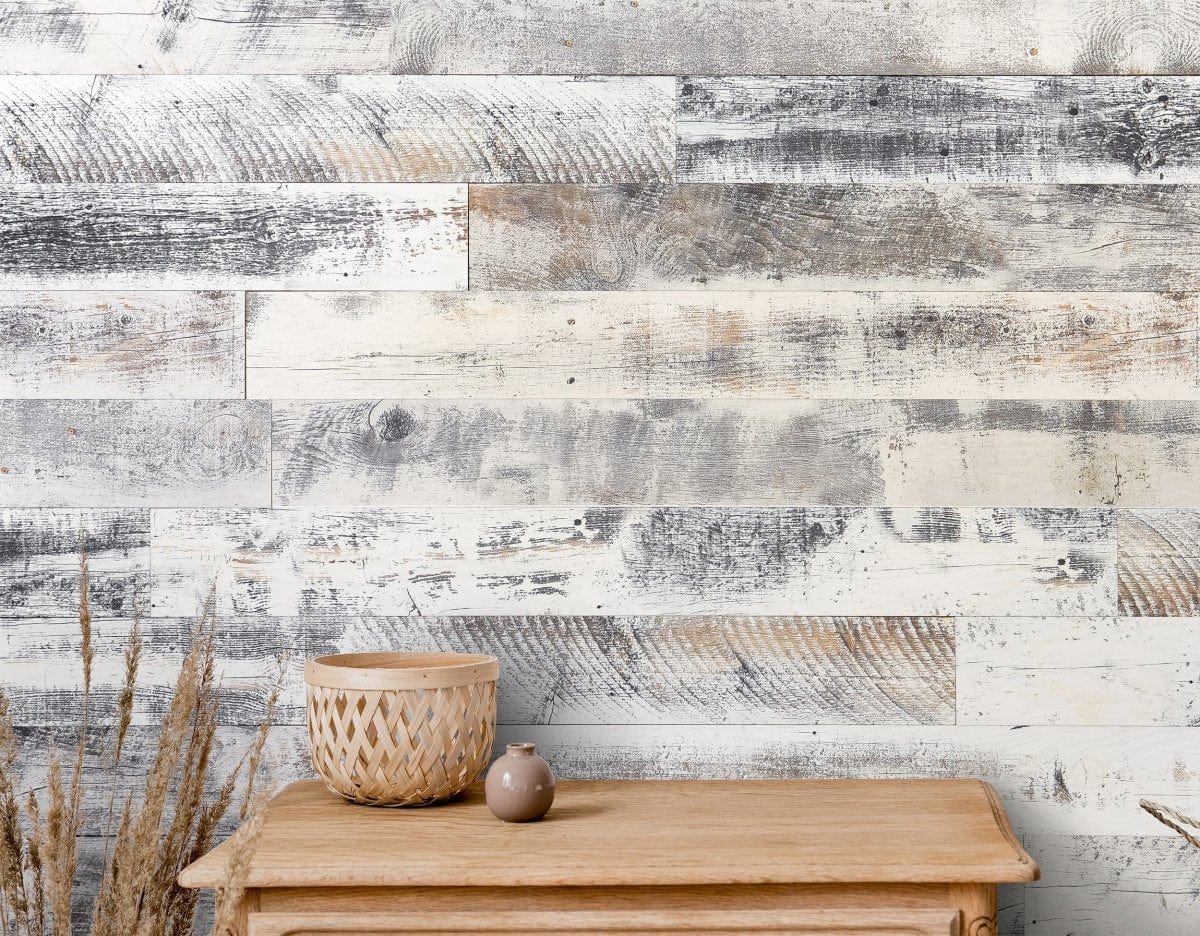
Wood panels are popular for homeowners looking to add warmth and character to their living spaces. From accent walls to full-room installations, wood panels can transform a plain room into a cozy retreat. However, a successful wood panel installation requires attention to detail and careful planning. Unfortunately, many DIY enthusiasts make common mistakes that can impact the overall look and longevity of the wood panels. This blog post will discuss five of the most common mistakes when installing wood panels and provide helpful tips to avoid them.
1. Failing to properly prepare the wall surface
One of the most critical aspects of a successful wood panel installation is ensuring that the wall surface is properly prepared. Before starting the installation, removing any wallpaper or loose paint and smoothening the surface is crucial. Additionally, it is essential to check for moisture issues, as wood panels can be susceptible to damage if installed on damp walls. Use a moisture meter to ensure the wall is dry before proceeding with the installation.
To prepare the surface, fill any holes or cracks with a suitable filler and sand the entire wall to create a smooth, even surface. This step is often overlooked but plays a significant role in achieving a professional-looking result.
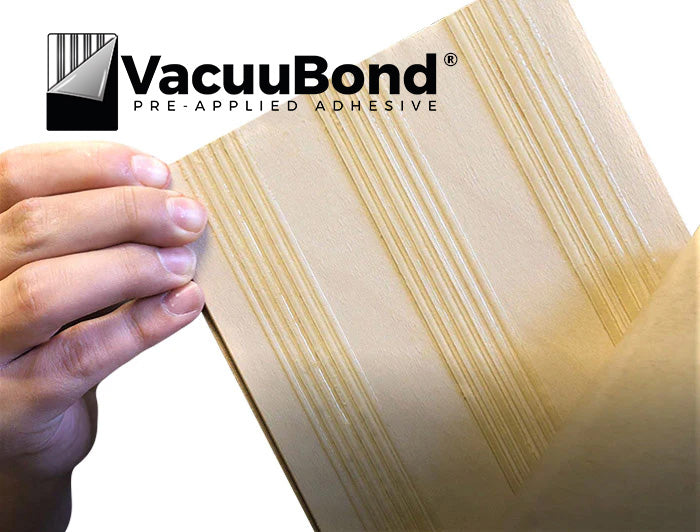
2. Choosing the wrong adhesive or fasteners
Another common mistake is selecting the wrong adhesive or fasteners for installing wood panels. The choice of adhesive or fasteners depends on the type of wood panels being used, the wall materials, and other factors such as temperature and humidity. It is crucial to choose an adhesive or fastener specifically designed for wood panels that can withstand the environmental conditions in the room.
When using adhesive, apply it evenly using a recommended trowel or roller to ensure proper coverage. If using fasteners, be sure to space them appropriately to provide adequate support for the panels. It is advisable to refer to the manufacturer's instructions or consult with a professional to determine the best adhesive or fastener for your specific wood panels and installation.
3. Ignoring expansion gaps
Wood is a natural material that expands and contracts with changes in temperature and humidity. Ignoring the need for expansion gaps during installation can lead to buckling, warping, or even panels popping off the wall. Expansion gaps allow the wood panels to accommodate these natural movements without causing damage.
To ensure the proper expansion gaps, measure and mark the width of the panels and subtract a small fraction to leave room for movement. The exact measurement will depend on the wood type and environmental conditions. Regularly spaced shims can be used to maintain the expansion gaps during installation and removed once the panels are in place.
4. Neglecting acclimation of the wood panels
Wood panels need time to acclimate to the environment of the room before installation. Neglecting this crucial step can result in the panels expanding or contracting after installation, leading to gaps or uneven joints. Acclimating the panels allows them to adjust to the temperature and humidity of the room, minimizing the risk of future issues.
To acclimate the wood panels, stack them horizontally in the room where they will be installed for at least 48 hours before beginning the installation. This allows the panels to adjust to the room's conditions, ensuring a more stable installation. Be sure to follow the manufacturer's instructions for acclimation time, as different wood species may require varying durations.
5. Lack of proper finishing techniques
Finishing is crucial in any wood panel installation, as it protects the wood and enhances its natural beauty. Unfortunately, DIY enthusiasts often neglect or rush through this step, resulting in a poor finish. Applying a high-quality sealant or lacquer protects the wood panels from scratches and stains and adds depth and richness to their appearance.
Before finishing, ensure that the panels are clean and free from dust or debris. Apply the finish in thin, even coats, following the manufacturer's instructions for drying time between coats. Sand between coats to achieve a smooth and flawless finish. Investing time in proper finishing techniques will significantly contribute to the overall aesthetics and durability of the wood panels.
Transform Your Space with Wallplanks
Installing wood panels can be a rewarding DIY project when done correctly. By avoiding these common mistakes, you can achieve a professional-looking wood panel installation that enhances the beauty and functionality of your living space. If you're ready to transform your room with wood panels, consider Wallplanks.
With our wide range of high-quality wood panel products, Wallplanks offers a solution to suit every style and design preference.
Visit our website to explore our selection of wood panels, get inspiration from their gallery, and learn more about the installation process. With the right materials and careful attention to detail, you can create a stunning and timeless look that will be the envy of your guests.
A successful wood panel installation requires proper preparation, the right adhesive or fasteners, adequate room for expansion, acclimation of the wood panels, and proper finishing techniques. By avoiding these common mistakes and following the tips provided, you can achieve a beautiful and long-lasting wood panel installation that will transform your living space.