Your Cart is Empty


Wallplanks Dimensions installation guide
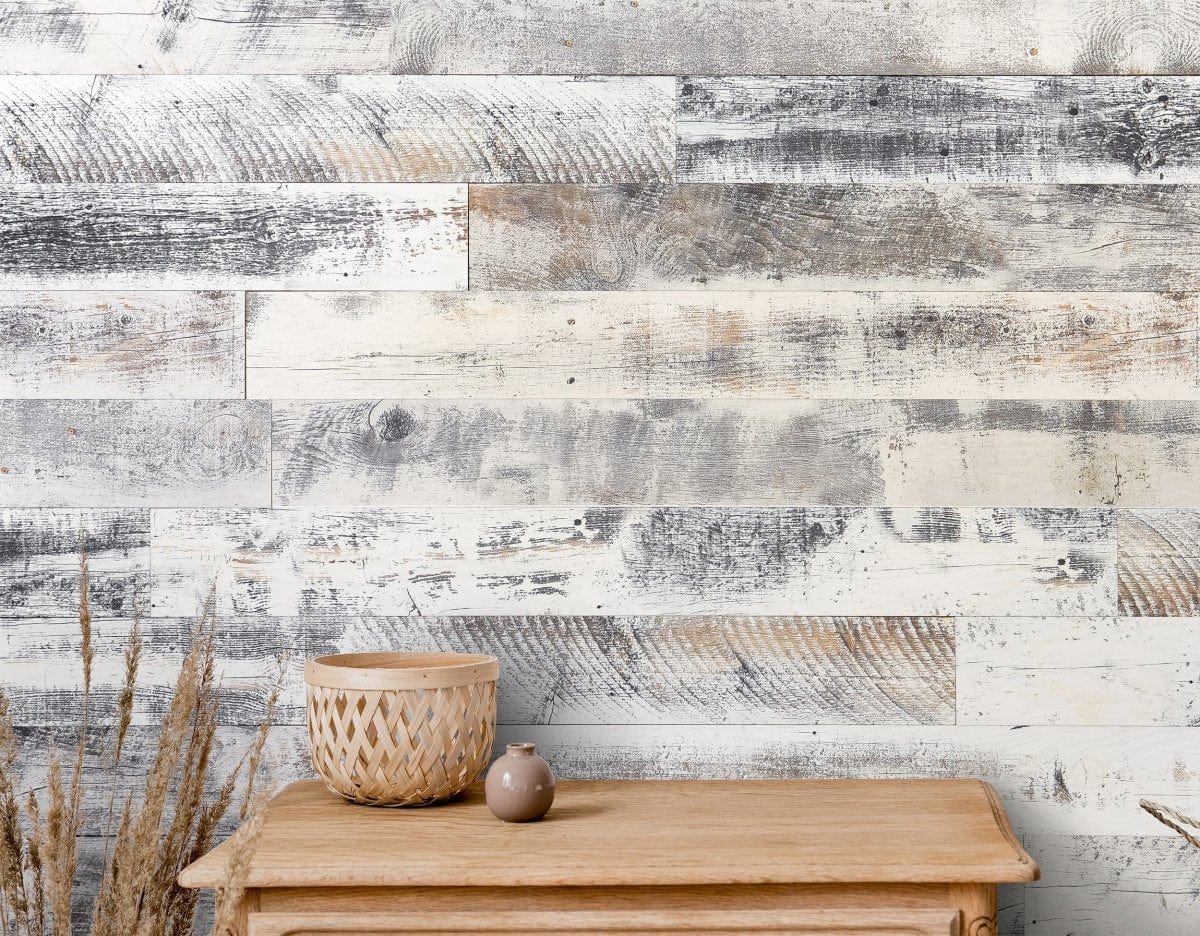
Wallplank Dimensions Installation Guide
READ THESE INSTRUCTIONS THOROUGHLY BEFORE BEGINNING INSTALLATION. INSTALLATION INSTRUCTIONS MUST BE FOLLOWED IN ORDER FOR WARRANTY TO REMAIN EFFECTIVE
Required tools and materials: J-roller (see Step 9), 4' level, TSP (trisodium phosphate) for cleaning sub wall see Step 1, a pencil, saw (miter saw, jigsaw, or a hand saw with miter box), shims 4 5/8" x 4 5/8", hammer, a few finishing nails, and string.
Inspect planks thoroughly prior to installation. If boards are not acceptable, do not install. In order to insure proper adhesion and to avoid future movement such as gapping between boards and cracking on the face of the planks, permanent HVAC must be on and maintained between 60 ̊ - 75 ̊ F with a relative humidity in the home between 30-55% for a minimum of 14 days prior to installation as well as during and after installation. To accommodate for any changes in humidity, allow 1/4" expansion space for every 10' of wall on all sides.
The planks can be installed on any structurally sound, clean, dry, and flat surface. DO NOT install as flooring. Cement block, plaster and gypsum surfaces should have a minimum of one coat of primer sealer prior to installation. It is not recommended to install planks in high moisture areas such steam rooms. For bathroom installations, additional nail down is recommended.
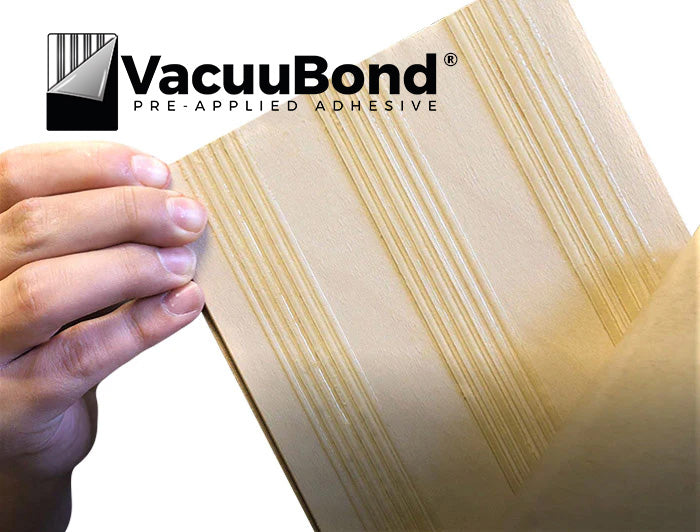
1. Clean and Dry the Wall Surface.Turn off power to installation area while working around wall outlets and light switches. Remove electrical cover plates, protruding nails and loose paint. Sponge wash with TSP (trisodium phosphate), available on Wallplanks.com or home centers to remove residues of greasy grime, mildew, chalked paint or anything that might affect the bond of the VacuuBond™ adhesive. If wall has a heavy drywall texture, it will need to be block sanded and primed so the VacuuBond™ adhesive can achieve a firm bond. Wallplanks can be installed over well bonded smooth wallpaper. Textured wallpaper should be removed and wall cleaned with TSP prior to installing Wallplanks.
2. Dry Lay the Planks.Work from several open boxes and “dry lay” before permanently installing to create your desired This step is especially important for the options with multi-color boards in each carton. You must dry lay your planks to ensure you installation is aesthetically pleasing due to color variation and 20% of the planks you receive are not the full 47" long.
3.Starting Line. Decide if you will be installing a one dimension (flat) wall, a two dimension, or three dimension. With the use of a pencil and 4' level establish a starting line at the bottom of the wall. Do not adhere the plank until you have it placed in the right position. Once material is adhered to the wall it will be very difficult to reposition.
- TIP: To help ensure an absolute straight starter line with the first plank, we recommend you tap 1 ½" finish nails halfway into the wall along the starting line at every 12". The protruding nails will help position the starter planks along the starting line before they are adhered to the wall. This procedure will not be possible when installing over a block wall. Use extra caution to ensure your first row is straight if you are not able to use nails as a guide.
4.Applying the Planks.Starting on the left side of the room, using the starting line (and nails) as a guide, peel the paper off the VacuuBond™ adhesive and position the starter row planks groove side up along your line. Press into place and J-Roll each plank immediately after installation. If you placed positioning nails in the wall in Step 3, remove them now.
5. Stagger the Planks.Now that your level starter row is in place, stagger the end joints as you work your way up the wall, so that your end joints do not match up from row to row. To accomplish this look and minimize your waste, use your cut off piece from one row to start the next row.
6. Unique Marks.Mark locations of light switches, electrical outlets and air vents on the planks before removing the paper liner on the cut and trial fit before installing. These cuts can be made using a drill to create a starter hole if necessary and then cutting with a jig saw or scroll saw.
Planks can be cut to fit by using an electric miter saw, a hand or miter saw. If the planks are cut by hand, a sanding block will be needed to smooth the cut edges.
7. Cutting the Planks. Planks can be cut to fit by using an electric miter saw, hand saw or miter box. If the planks are cut by hand, a sanding block may be needed to smooth the cut edges.
8. Installing the Top and Bottom Rows. When installing your top and bottom rows, the planks can be ripped lengthwise by using a jigsaw or table saw.
9. Important.To help set the VacuuBond™ adhesive after the installation is complete, the wall must be rolled using a J-roller to insure the bond. Not using a J-roller can lead to failed adhesion. J-roller available for purchase at www.wallplanks.com.
10. Ceiling installations. For installation on ceilings, follow steps 1-9 and use 1" brad nails every 16" on the left and right side of the plank to further secure the planks to the ceiling.
2-D Installations:
-Add 15% more Wallplanks to your purchase
-After the starter row has been installed, temporary spacer blocks 4 5/8" x 4 5/8" need to be placed between every other row for accurate spacing.
-When all 1D rows are installed, remove spacers and overlay the second layer of planks making sure the end joints are staggered. Each plank has a rabbit cut edge that will allow them to be positioned on the first 1D layer. Place the end of plank first then press rest of plank into place.
3-D Installations:
-Add 20% more Wallplanks to your purchase
-The 3-D installation is achieved by adding another layer of plank on the 2-D installed This is done in the same procedure as the 2-D with the rabbit cut edge adhering randomly to the original 1D row of planks.
-The number of planks needed to create the 3D effect is based on installer preference and size of wall. It is common to purchase an extra 1–2 planks for every carton purchased for the 1D and 2D rows. There are 15 boards in every carton.
**TIP: For extra assurance and added protection, apply primer to your wall prior to installation and use a nail gun with 1" brad nails in addition to the VacuuBond pre-applied adhesive.
If needed, you may use some filler and a touch up marker to blend the nail hole in with the finish.
Wall Planks Care and Cleaning:
-Your wall planks are virtually maintenance free, but just in case you make a mess, we have you covered with our wallplanks cleaner availble on wallplanks.com! If you choose not to use the cleaner, normal dusting with a clean, dry cloth should be the primary cleaning method. As needed you can damp wipe using water only. Never saturate your wood walls. Slightly damp (wrung out) cloth only. Never use wax, detergents, polishes, abrasive cleansers or use oil-based products on your wall.
-Hanging pictures and other wall Décor: Wall planks are not load bearing. Wall Décor like mirrors, pictures, and shelves can be mounted by drilling though the Wallplanks, provided the underlaying wall provides sufficient support (i.e. wall studs). Use proper hardware to install any wall decor.
-Get your supplies on our Peel and Stick Wallplank Supplies page
Sold out
Sold out