Your Cart is Empty


Transform Your Ceilings: 10 Stunning Shiplap Ideas


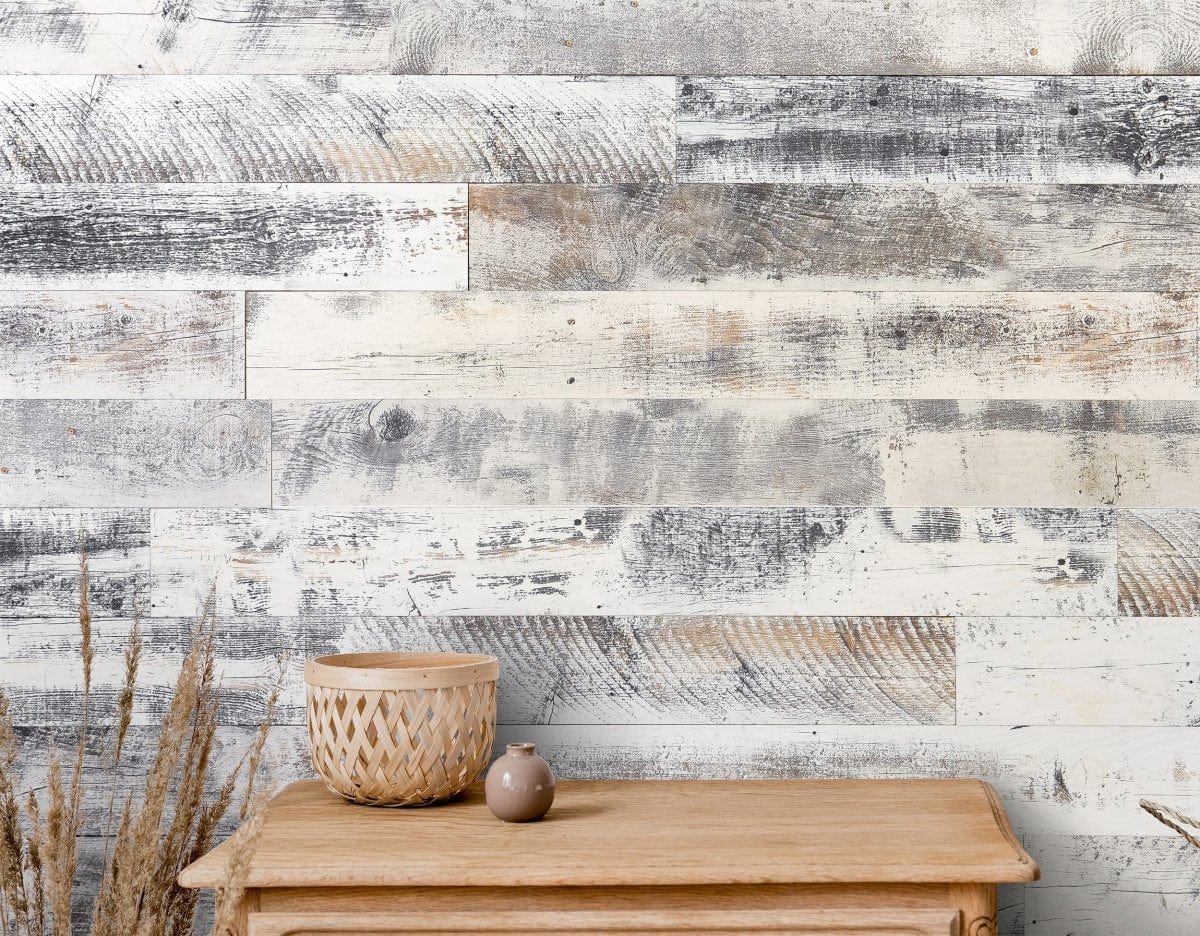
If you’re looking for a high-impact, design-forward upgrade that doesn’t require reconfiguring your floor plan, look up. A shiplap ceiling can add architectural character, visual warmth, and a tailored finish to rooms of any size or style. Beyond aesthetics, ceiling planks help conceal surface imperfections, provide subtle acoustic benefits, and create a polished backdrop for lighting. Below, you’ll find ten inspiring ceiling concepts—plus practical guidance—to help you incorporate decorative wall panels overhead with confidence.
Why Shiplap Works So Well on the Ceiling
Shiplap refers to interlocking or tightly abutted planks that create crisp, linear reveals. On ceilings, those lines guide the eye and can dramatically alter how a room feels. Run planks longways to elongate a space; orient them across the short dimension to visually widen. In open layouts, continuous planking across multiple zones unifies the plan and softens transitions.
For existing homes, shiplap is also a forgiving solution. It can cover patched drywall, hide hairline cracks, and smooth out slight inconsistencies. Because finished wood tones and painted planks reflect light differently than flat drywall, they add depth and texture without overwhelming the rest of the décor.
Planning Considerations Before You Install
-
Room purpose and mood: Kitchens and living rooms benefit from bright, light-reflecting planks, while bedrooms and studies thrive with warmer, mid-tone woods that feel calming and grounded.
-
Scale and proportion: Wider planks read more contemporary and reduce visual “busyness.” Narrower planks introduce a traditional rhythm and can complement historic homes.
-
Directionality: Align planks with the longest dimension for a streamlined effect, or perpendicular to prominent windows to catch and bounce natural light.
-
Structure and services: Locate joists, evaluate fixture placements, and confirm box depths for recessed lights and fans. Plan expansion gaps at perimeters per manufacturer guidance.
-
Moisture and ventilation: In bathrooms, laundry rooms, or over covered porches, choose sealed finishes appropriate for fluctuating humidity and follow clearance guidelines around vents.
10 Stunning Shiplap Ceiling Ideas
1) Crisp Cottage White for Timeless Appeal
A soft-matte white shiplap ceiling delivers instant freshness. It’s a natural pair for shaker cabinetry, marble counters, and woven textures—yet it stays versatile enough for transitional spaces. White overhead increases perceived height and brightness, making it a strategic choice for hallways, entry vestibules, and kitchens where task lighting matters. Keep the walls a complementary neutral and let natural wood floors add contrast.
Pro tip: Specify a low- to mid-sheen finish to reflect light without glare. Add a ¼" nickel gap (or a shadow-line reveal) for a subtle, tailored detail.
2) Warm Natural Wood to Ground Open Plans
If your home features lofty ceilings or a large, open-concept great room, consider natural, mid-tone wood planks above. Honey oak, light walnut, and muted hickory stain beautifully and introduce warmth without darkening the space. The wood grain acts as a quiet, continuous texture that helps delineate zones—seating, dining, kitchen—without the need for extra partitions.
Pro tip: Pair wood ceilings with textural pendants (rattan, linen, or aged metal) to amplify the organic feel and keep your lighting from disappearing into the background.
3) High-Contrast Charcoal for Modern Drama
A deep charcoal or near-black ceiling is bold and sophisticated. The effect: walls recede and furnishings pop. In modern lofts or moody libraries, dark planks frame the room like a well-cut tuxedo. To pull this off, balance the palette with light floors, reflective surfaces (antiqued mirror, polished stone), and strategic layered lighting.
Pro tip: Use dimmable LEDs and warm (2700–3000K) color temperatures. The softer warmth prevents the room from skewing cold with the darker overhead plane.
4) Coastal Gray-Blue for Calm, Airy Spaces
Coastal design isn’t only bleached driftwood and white-on-white. A gray-blue wash or pale sea-salt tone on shiplap infuses color while preserving wood texture. It’s perfect for sunrooms, lake houses, and bathrooms where you want serenity without sterility. Complement with brushed nickel hardware, striped textiles, and white oak detailing for a refined shoreline vibe.
Pro tip: Choose a translucent stain or finish that lets the wood’s cathedraling show through—it adds authenticity and avoids a flat, painted look.
5) Beam-and-Plank Pairing for Architectural Character
Combine shiplap with decorative beams (faux or structural) for depth and rhythm. The beams create bays; the shiplap fills them with texture. This approach works beautifully in farmhouse, Spanish, and mountain modern styles. Keep beam finishes slightly darker than your planks to emphasize the grid and echo other millwork elements.
Pro tip: Maintain consistent beam spacing and align it with the room’s architecture—window centers, fireplace mantle width, or kitchen island—to make the composition feel intentional.
6) Coffered Ceilings with Shiplap Inset
For a tailored, upscale finish, install coffer frames and use shiplap within each coffered recess. This hybrid treatment blends classic millwork with contemporary lines. The reveals between planks animate the coffers, catching shadows throughout the day. Painted white or soft gray, it’s gorgeous in dining rooms, home offices, and formal living areas.
Pro tip: Scale counts. Larger rooms can handle deeper coffers (4–6 inches), while small rooms benefit from shallow profiles to avoid visual heaviness.
7) Cathedral & Vaulted Ceilings That Soar
On vaulted ceilings, run planks parallel to the ridge to accentuate height, or perpendicular for a calming crosshatch effect. The linearity draws the eye upward, emphasizing volume and creating a chapel-like serenity in bedrooms and great rooms. To keep the space cohesive, carry the same plank finish onto accent walls or fireplace surrounds.
Pro tip: Use longer plank lengths to minimize end joints on steep slopes and pre-plan lighting penetrations at floor level to reduce overhead measuring time.
8) Tray Ceilings with Lined Layers
Trays can feel dated if left as plain drywall. Lining the inner tray with shiplap—either painted or stained—adds a contemporary, crafted finish. For extra depth, wrap the vertical faces of the tray with the same planks, then integrate an LED cove for a soft, indirect glow. This technique elevates bedrooms and dining rooms without a full overhaul.
Pro tip: Color inside the tray can differ slightly from the main ceiling plane. A warmer or darker tone draws the eye into the architectural detail.
9) Directional Patterns: Diagonal, Chevron, or Herringbone
While traditional shiplap runs straight, you can install planks diagonally or in chevron/herringbone formations for a boutique look. Patterns break up long expanses and add energy—fantastic for foyers, powder rooms, or boutique retail spaces at home (think: a beautiful walk-in closet). Keep the rest of the palette restrained to let the geometry shine.
Pro tip: Patterned layouts require precise planning. Dry-lay the centerline, confirm symmetry, and expect additional waste (10–15%) to account for angled cuts.
10) Mixed Material Bands for a Gallery Effect
Blend shiplap with other ceiling materials—narrow metal banding between plank fields, a plaster border, or a wallpaper-clad medallion around a chandelier. These bands act like picture frames for your ceiling composition. The look translates from contemporary to eclectic depending on your finish choices.
Pro tip: Keep transitions clean with trim profiles or shadow reveals. Consistent reveal widths make mixed materials feel deliberate rather than improvised.
Integrating Lighting, HVAC, and Tech—Without Compromising Design
A ceiling is a working surface. You’ll need to accommodate cans, pendants, fans, sprinklers, and vents. Plan the layout early to align fixtures with plank seams when possible; this allows for cleaner cuts and easier maintenance. If you’re switching from large recessed lights to modern low-profile fixtures, use matching wood or painted medallions to cover oversized openings without replacing whole sections of drywall.
For whole-home audio or Wi-Fi access points, pre-map device locations and run wiring before planking. Many devices can sit flush within a plank field if you order color-matched trims or paintable covers.
Finish Options That Elevate Performance
-
Painted finishes: Crisp white and soft neutrals keep spaces bright. Choose durable, scrubbable paints (eggshell or satin) for kitchens and high-traffic areas.
-
Stained and clear-sealed woods: Highlight grain and add warmth. A matte or low-sheen clear coat feels modern and hides minor scuffs better than high gloss.
-
Color-washed tones: Semi-transparent finishes offer color while preserving texture—ideal when you want both pigment and grain.
For maintenance, dust periodically with a microfiber mop. Spot-clean scuffs with a damp cloth and mild soap; avoid overly wet cleaning on wood. Recoat high-use areas every few years as needed.
Budgeting and Project Scope
-
Material choice: Real wood brings authenticity; engineered and other wood-based options can optimize stability and cost.
-
Room size and complexity: Coffers, beams, and patterns add carpentry time. Straight runs in simple rectangles are the fastest to install.
-
Prep and protection: Factor in furniture moving, surface protection, and paint touch-ups.
-
Professional vs. DIY: Comfortable DIYers can tackle straightforward rooms; complex layouts, vaulted ceilings, or integrated lighting may warrant a professional installer.
Case for Quality: U.S.-Made Materials and Craftsmanship
When you invest in a ceiling that anchors your design, product quality matters. That’s why many homeowners and design pros look for planks made close to home with consistent milling, reliable finishes, and transparent sourcing. Products manufactured in the United States can provide shorter lead times, enhanced quality control, and materials that suit North American climates.
Why Wallplanks
Wallplanks is a U.S. company based in Weston, Wisconsin, founded in 2017 by industry expertTryggvi Magnusson. From the beginning, Tryggvi’s vision has been clear: to developdurable, beautiful, and high-performing wall products that are easy to use and capable of transforming any interior. Wallplanks products are manufactured by our parent company,From the Forest, LLC—an industry flagship in premium hardwood flooring founded in 2007—leveraging deep category expertise and modern production standards. All of our materials aresourced from North America, aligning with discerning buyers who value provenance and consistency.
What does that mean for your ceiling?
-
Design confidence: A broad range of finishes that complement both classic and contemporary interiors.
-
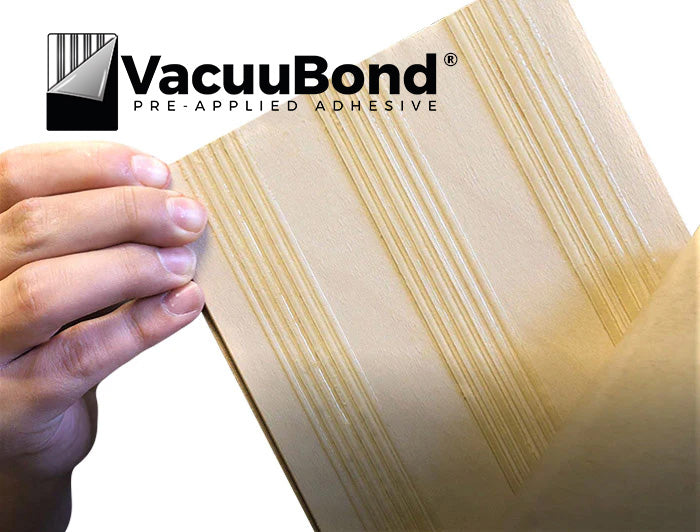
Installation efficiency: Thoughtfully engineered products designed for clean lines and reliable performance.
-
Long-term value: Quality construction and North American sourcing support durability and peace of mind.
Pulling It All Together: A Step-by-Step Ceiling Game Plan
-
Define the design direction. Choose from the ten ideas above—white and bright, richly stained, patterned, or beam-enhanced—and gather inspiration photos to keep decisions aligned.
-
Measure precisely. Record length, width, ceiling height, and special conditions (vaults, trays, soffits). Add a buffer for waste based on layout complexity.
-
Map the layout. Identify where to start (often the most visible edge). Snap chalk lines, mark joists, and confirm fixture locations.
-
Select finishes. Decide on plank width, color, and sheen that support your room’s lighting and furnishings.
-
Prep the space. Protect floors and furniture, stage materials, and ensure ladders/scaffolding are safe and stable.
-
Install with intention. Follow manufacturer instructions on fastening, adhesives, and perimeter gaps. Check alignment regularly and adjust as needed.
-
Detail the edges. Finish perimeters with clean shadow lines or trim profiles to achieve a crisp, designer-grade result.
-
Light and layer. Reinstall or upgrade lighting, then add textiles and furnishings that harmonize with your new architectural “fifth wall.”
Final Thoughts
Shiplap on the ceiling is more than a trend; it’s a versatile design strategy that can recalibrate scale, add texture, and lend custom-home character to everyday rooms. Whether you’re after the timeless polish of cottage white, the welcoming warmth of natural wood, or the graphic sophistication of a patterned layout, there’s a shiplap solution that can meet your goals—and your budget.
Shop with Us Today
Ready to elevate your home from the top down? Explore ceiling-worthy decorative panels fromWallplanks. Headquartered in Weston, Wisconsin, and founded in 2017 by industry veteranTryggvi Magnusson, Wallplanks was built to deliverdurable, beautiful, and high-performing products that are easy to use and transform any interior. Manufactured byFrom the Forest, LLC (founded in 2007) andsourced entirely from North America, we combine craftsmanship with modern engineering for results you can trust. Browse finishes, request inspiration, or connect with a product specialist to bring your shiplap ceiling vision to life.