Your Cart is Empty


Step-by-Step Guide to Installing Acoustic Panels on Walls

In today's modern interiors—whether residential, commercial, or industrial—noise management has become more important than ever. Acoustic panels are a powerful solution to combat excess noise, echo, and poor sound quality in any space. However, what often holds people back is the assumption that installation is complex or requires professional contractors. Fortunately, with the right approach and tools, installing acoustic wall panels is a straightforward process that can be tackled confidently.
What Are Acoustic Wall Panels?
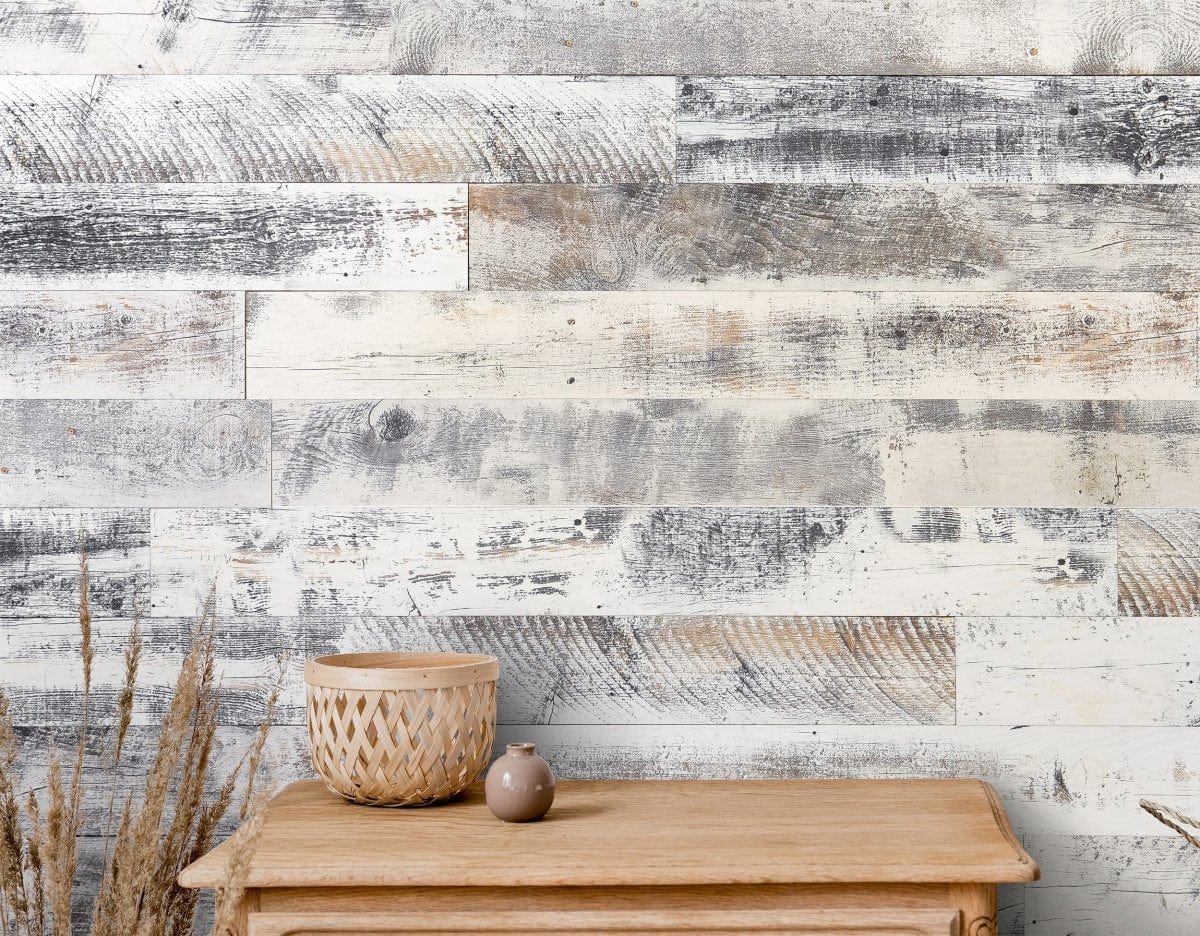
Before we begin the installation process, let's first understand acoustic panels and how they work. Acoustic panels are decorative, sound-absorbing materials installed on walls or ceilings to improve sound quality within a room. They are designed to reduce reverberation and absorb mid-to-high frequencies, making speech clearer and audio more precise.
Acoustic panels come in a variety of materials, such as fabric-wrapped foam, wood-fiber composites, and polyester blends. At Wallplanks, we specialize in high-performing wall products—including acoustic solutions—that combine aesthetic appeal with functional performance. Our panels are made with premium materials sourced exclusively from North America and manufactured in our Wisconsin-based facility, ensuring quality and durability from start to finish.
Why Install Acoustic Panels?
Installing acoustic wall panels offers a wide range of benefits beyond noise reduction:
-
Improved Sound Clarity: Ideal for conference rooms, home theaters, classrooms, or open-plan offices.
-
Increased Privacy: Helps prevent conversations from traveling through walls.
-
Better Aesthetic Appeal: Panels come in a variety of textures and colors that complement modern interiors.
-
Easy Retrofitting: Acoustic panels can be added to existing spaces without major renovations.
By investing in quality acoustic panels, you're enhancing both the functionality and appearance of your space.
Step 1: Assess the Room and Plan Panel Placement
Before you start drilling or sticking anything to your walls, take the time to assess the space. Identify the main sources of noise and determine where sound reflection is most problematic. Typically, these areas include:
-
Opposing walls that reflect sound back and forth
-
Hard surfaces like windows, floors, or glass partitions
-
Ceilings or corners where sound tends to collect
Use this assessment to sketch a layout for your panels. For most spaces, placing acoustic panels on 15–25% of the wall surface is sufficient. However, for sound-sensitive environments like studios or editing rooms, you may require more coverage.
Pro Tip: Symmetrical placement often provides better acoustic balance and visual harmony. Aim for an even distribution of panels across the space.
Step 2: Choose the Right Acoustic Panels
Not all acoustic panels are created equal. At Wallplanks, we offer sound-absorbing wall panels that not only perform well acoustically but also elevate the interior design. Look for features such as:
-
Sound absorption ratings (NRC): The higher the rating, the better the sound absorption.
-
Durability: Choose materials that resist wear and tear over time.
-
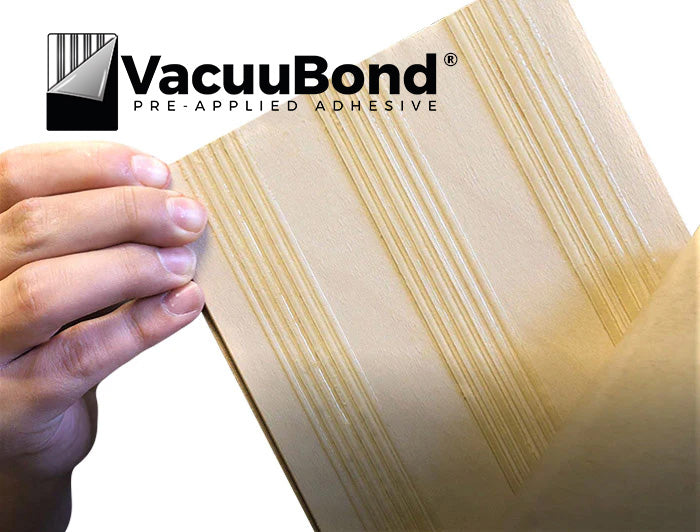
Ease of installation: Opt for panels designed with user-friendly installation features like peel-and-stick backings or interlocking systems.
Keep your aesthetic goals in mind, too. Whether you prefer a rustic woodgrain finish or a sleek modern look, our acoustic panel options provide both form and function.
Step 3: Gather Tools and Materials
Once you've selected your panels, gather all the necessary tools and materials for a smooth installation process. Depending on the type of panel and installation method, you may need:
For adhesive installation:
-
Level
-
Measuring tape
-
Pencil or chalk
-
Utility knife
-
Double-sided industrial adhesive tape or acoustic panel adhesive (per manufacturer's guidance)
For screw-mounted installation:
-
Power drill
-
Anchors and screws
-
Level
-
Tape measure
-
Stud finder
Be sure to review the specific instructions that come with your Wallplanks acoustic panels for the best results.
Step 4: Prep the Walls
Preparation is key to a secure, lasting install. Follow these steps to prep your wall surface:
-
Clean the Wall Surface: Wipe down the wall with a damp cloth to remove dust, oils, or debris. Adhesives and screws grip better on a clean surface.
-
Mark Panel Placement: Using your layout sketch as a reference, mark the top and bottom boundaries for each panel on the wall using a level and pencil. This will ensure straight lines during installation.
-
Locate Studs (if screw mounting): Use a stud finder to identify wall studs, especially for heavier panels. Mark the stud locations, as these will offer more secure anchoring points.
Step 5: Apply Adhesive or Mounting Hardware
The next step in installing acoustic wall panels is attaching them to the wall. Choose one of the following methods:
Option A: Adhesive Mounting
-
Apply Adhesive or Tape: If using double-sided adhesive tape, place strips around the perimeter and center of the panel. For liquid adhesive, apply a zigzag pattern on the back of the panel.
-
Position the Panel: Line up the panel with your wall markings and press it firmly into place, holding for at least 30 seconds to ensure a strong bond.
-
Repeat the Process: Continue applying and pressing each panel according to your layout, ensuring consistent spacing and alignment.
Option B: Screw Mounting
-
Drill Pilot Holes: Using your markings and stud locations, drill pilot holes through the panel and into the wall.
-
Install Screws: Secure each panel to the wall with screws and anchors (if not hitting studs). Use a level after each panel to maintain proper alignment.
-
Cover Screws if Desired: Some panels come with screw caps or adhesive plugs for a cleaner finish.
Step 6: Address Edges and Obstacles
Most rooms have unique elements like electrical outlets, windows, or crown molding that require some panel customization.
-
Cutting Panels: Use a utility knife or table saw (depending on panel material) to cut panels around outlets or trims.
-
Edge Finishing: For a more polished look, consider using corner trim pieces or edge banding.
-
Window Considerations: Avoid blocking natural light. Position panels adjacent to, rather than directly on, window surfaces.
Step 7: Evaluate and Adjust
Once all panels are installed, step back and evaluate the room. Check for:
-
Alignment: Are all panels level and evenly spaced?
-
Adhesion: Are any panels lifting or loose?
-
Sound Improvement: Clap your hands or play music—can you hear a noticeable difference in echo reduction?
Make any final adjustments as needed. If necessary, apply additional adhesive or re-secure screws.
Maintenance Tips for Acoustic Panels
Acoustic panels are low maintenance but benefit from occasional cleaning and inspection:
-
Dusting: Use a soft brush or vacuum with a brush attachment to remove surface dust.
-
Spot Cleaning: For fabric panels, use a damp cloth with mild detergent. Avoid oversaturation.
-
Avoid Impact: Prevent heavy objects or furniture from banging into the panels to maintain their shape and acoustic integrity.
Wallplanks acoustic panels are built for long-term performance, but taking these steps will help you preserve both their look and function.
Common Mistakes to Avoid
Installing acoustic wall panels isn't difficult, but avoiding these common errors will ensure optimal results:
-
Skipping the Layout Plan: Poor placement can reduce panel effectiveness.
-
Using Weak Adhesives: Invest in high-quality adhesives for a secure bond.
-
Uneven Spacing: Misaligned panels can distract visually and degrade performance.
-
Ignoring Wall Prep: Dust or oil can prevent adhesion and lead to panels falling over time.
Transform Your Space with Wallplanks Acoustic Panels
Installing acoustic wall panels is one of the most effective ways to enhance the comfort, clarity, and style of your space. From reducing distracting echoes in a home office to creating the perfect audio environment in a recording studio, the right acoustic solution makes all the difference.
At Wallplanks, we are proud to offer premium, design-forward wall products engineered for performance and ease of installation. Founded in 2017 by industry expert Tryggvi Magnusson, our company was built on the vision of transforming interiors with durable and beautiful wall solutions that anyone can install. Our products are proudly manufactured in the U.S. by our parent company,From the Forest, LLC, an industry leader in premium hardwood flooring since 2007.
All materials are responsibly sourced from North America, so when you choose Wallplanks, you're not just getting exceptional sound absorption—you're supporting American craftsmanship and sustainability.
Ready to Upgrade Your Space?
Browse our selection of acoustic panels and other innovative wall solutions. Whether you're designing a professional environment or refreshing a personal space, we're here to help you create something extraordinary. Let our wall panels do the work—beautifully.