Your Cart is Empty


How Do You Attach Wood Planks to a Ceiling?


Adding the warmth and natural beauty of wood to your ceiling can instantly transform any room. Whether you want to create a cozy ambiance or achieve a rustic charm, installing wood planks on your ceiling is a fantastic way to revamp your space. But how do you attach wood planks to a ceiling? This comprehensive guide will take you through the step-by-step process, tips, and considerations for a successful wood ceiling installation.
1. Assess Your Ceiling
Before diving into the installation process, evaluating your ceiling's condition is crucial to determine if it's suitable for attaching wood planks. Ensure your ceiling is structurally sound and free from any moisture or water damage. If you encounter any issues, addressing them before proceeding with your wood ceiling installation is recommended.
2. Choose the Right Wood
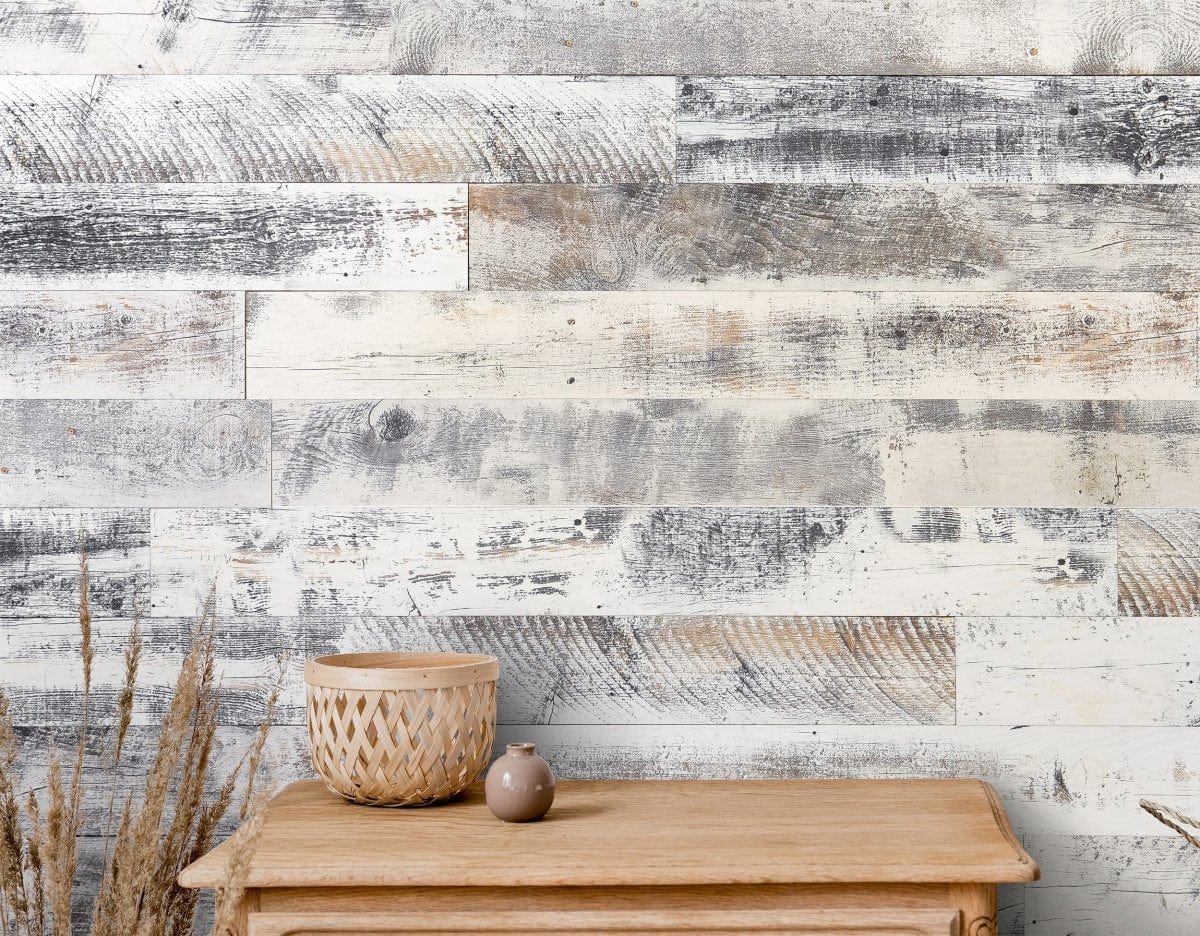
Selecting the appropriate type of wood is essential for both aesthetic appeal and durability. Consider factors like thickness, species, and finish options to find the ideal wood planks that align with your desired style and requirements. Opting for high-quality and sustainably sourced wood is crucial to ensure the longevity of your wood ceiling.
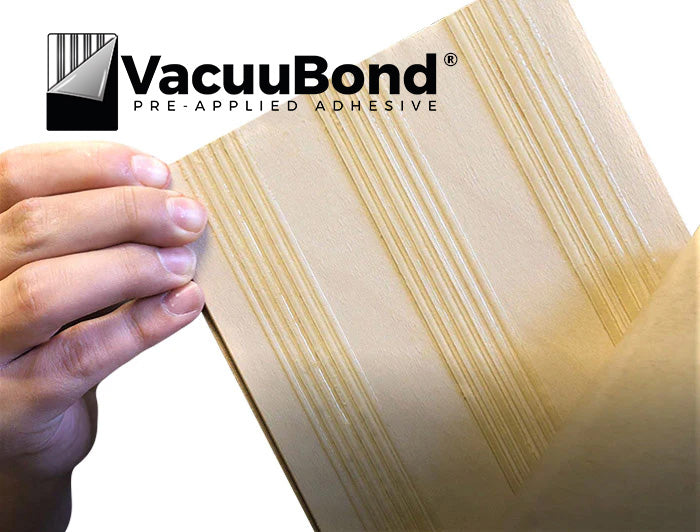
3. Prepare Your Materials and Tools
Gather the necessary tools and materials before commencing the installation. Some basic items include a measuring tape, a miter saw or circular saw, a level, adhesive, construction adhesive, screws, and a nail gun. Additionally, protective equipment such as safety glasses and gloves should be worn during installation.
4. Measure and Plan
Accurate measurements play a vital role in the success of your wood ceiling project. Measure the length and width of your ceiling and calculate the square footage. Consider the desired orientation of the wood planks, whether horizontal or vertical and plan the layout accordingly. This planning stage will help you determine the number of planks required and minimize waste.
5. Prepare the Planks
Prepare the wood planks by allowing them to acclimate to the room's temperature and humidity for a few days. This will help prevent any warping or shrinking after installation. Additionally, inspect the planks for any defects or imperfections before applying finishes or adhesive.
6. Install Furring Strips
Furring strips are thin, long strips of wood or metal that create a level surface for attaching wood planks. Installing furring strips is particularly important if your ceiling is uneven or has irregularities. Attach the furring strips perpendicular to the ceiling joists using a level, ensuring they are spaced correctly to support the wood planks.
7. Apply Adhesive and Install Wood Planks
Apply construction adhesive to the back of each wood plank. Start from one end of the ceiling and press the first plank firmly against the adhesive and furring strips. Use a nail gun or screws to secure the plank to the furring strips for added stability. Continue this process until the entire ceiling is covered.
8. Finishing Touches
Once all the wood planks are securely installed, it's time to add the finishing touches. Fill any visible nail holes with wood filler and sand the entire ceiling surface to create a smooth, even finish. Finally, apply your preferred sealant or stain to enhance the natural beauty of the wood and protect it from moisture or UV damage.
Shop Wallplanks Today
Revamp your walls with our decorative wood panels. Add rustic charm to any space with our stylish wood wall planks. Explore our wide range of high-quality wood planks and transform your ceiling into a focal point of elegance and sophistication. Enhance the aesthetics of your interiors with the timeless beauty of wood.