Your Cart is Empty


DIY Guide: How to Create Custom Wall Art with Reusable Wall Panels


Custom wall art is a powerful way to express personality, enhance ambiance, and elevate the aesthetic of any room. For homeowners, renters, or design enthusiasts who want to create unique and removable interior accents,DIY wall panels offer the perfect solution. Reusable wall panels are versatile, cost-effective, and easy to install, making them an ideal medium for both beginner and experienced DIYers.
Materials and Tools Needed for Your DIY Project
Before starting your project, it's crucial to gather the right materials and tools. Using high-quality, durable products, such as those available from Wallplanks, ensures a smoother process and a long-lasting result.
Core Materials:
-
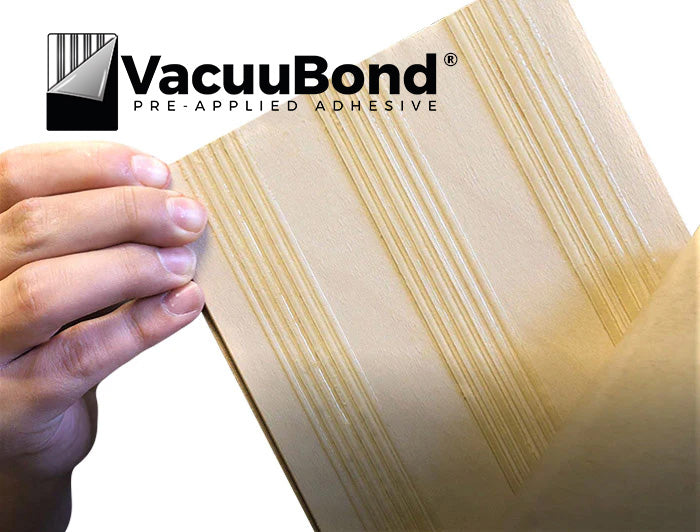
Reusable wall panels (adhesive-backed or click-lock panels)
-
Measuring tape
-
Level
-
Pencil or chalk line
-
Straightedge or ruler
-
Utility knife or panel cutter
-
Adhesive strips or mounting hardware (if not pre-applied)
-
Cleaning cloths or mild cleaner
-
Protective gloves (optional)
Optional Customization Supplies:
-
Acrylic or latex paint
-
Stencils
-
Peel-and-stick decals
-
Wood stain or finishes
-
Decorative fasteners or framing trim
Proper preparation ensures that the installation is hassle-free and that your panels adhere properly to your surface.
Step-by-Step Installation Guide
Installing DIY wall panels doesn't require specialized construction skills. With some planning and precision, anyone can achieve a professional-looking finish.
Step 1: Prep Your Wall Surface
Start by cleaning the wall area with a dry cloth or a gentle cleaner to remove dust, grease, and residue. If you're working with textured surfaces, lightly sand them down to create an even area for adhesion.
Step 2: Plan Your Layout
Measure the wall space to calculate the number of panels you need. Use a level and chalk line to mark horizontal or vertical guidelines based on your desired layout. Planning the layout in advance helps avoid misalignments and saves time.
Step 3: Begin with a Centerline or Edge
Choose whether to start from the center of the wall and work outward or begin in one corner and go across. Starting in the center is ideal for symmetrical designs, while working from an edge works best in corner spaces.
Step 4: Attach the Panels
If usingpeel-and-stick panels, remove the backing and press firmly onto the wall. Use a level after each panel to ensure it remains straight. Forclick-lock panels, follow the interlocking mechanism, securing each piece as you go.
Step 5: Cut to Fit
Use a utility knife or panel cutter to trim edges where necessary, especially around outlets, windows, or baseboards. Always double-check measurements before cutting.
Step 6: Finish and Inspect
Once the wall is fully paneled, go over the surface with your hands to ensure every panel is secured. Step back and visually inspect the design for consistency and alignment.
Creative Design Ideas for Customization
Your wall panel project doesn't have to end with installation. One of the best aspects of usingDIY wall panels is their adaptability. Here are some design ideas to inspire your creativity:
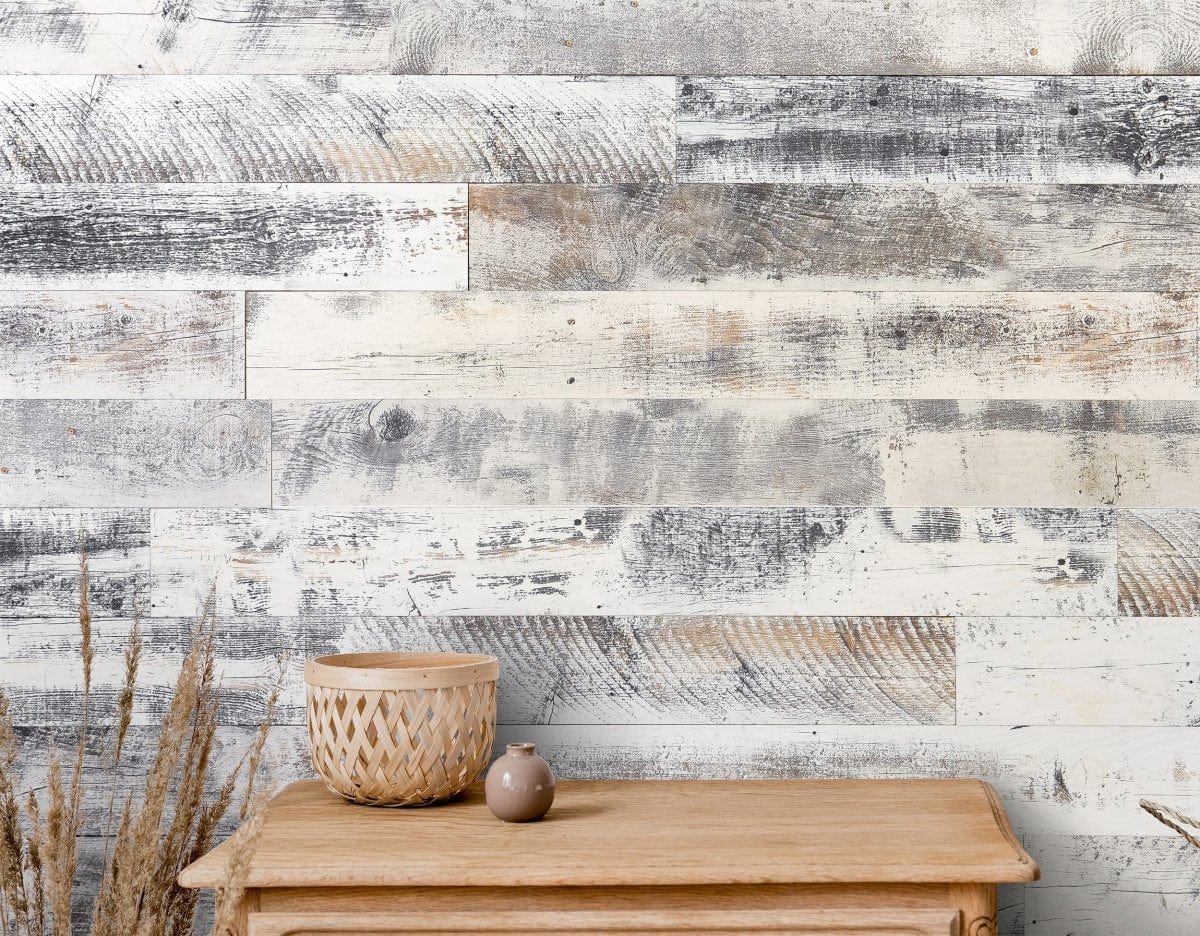
Accent Walls
Choose a single wall to apply your reusable panels and make it the room's focal point. This works particularly well behind beds, in entryways, or as a backdrop for a home office desk.
Mixed Materials
Combine wood-look panels with painted drywall or wallpaper for contrast. This mix adds depth and personality to modern or transitional décor styles.
Geometric Patterns
Cut panels into smaller pieces and arrange them into chevrons, herringbones, or tile-inspired patterns. This approach requires more planning but results in high visual impact.
Painted Panels
Customize your panels with bold paint colors or soft pastels to match your existing décor. Use stencils for patterns or quotes to add a personal touch.
Framed Art Panels
Use molding or wooden trim to frame groups of panels, creating a gallery wall effect. This gives the illusion of built-in art and elevates the design sophistication.
Sourcing Affordable Reusable Panels
When sourcing materials, quality and sustainability matter. Choosing American-made, environmentally responsible products ensures you get durable panels without compromising on values. Wallplanks, for example, offers high-performing panels made from responsibly sourced North American materials. Our parent company, From the Forest, LLC, has been a leading name in hardwood flooring since 2007, and Wallplanks continues that tradition by delivering aesthetic appeal, durability, and ease of use.
Look for features like:
-
Peel-and-stick backing
-
Click-locking systems
-
Pre-finished surfaces
-
Formaldehyde-free adhesives
-
Sustainable wood sourcing
Buying in bulk, shopping seasonal sales, or exploring outlet collections can also help reduce costs while maintaining premium quality.
Troubleshooting Common DIY Issues
No DIY project is immune to a few bumps along the way. Here's how to address some common challenges:
Panels Won't Stick
This often results from a dirty or textured wall surface. Re-clean the surface and use adhesive strips or double-sided mounting tape for added support. For textured walls, consider a backing board or thin plywood layer for mounting.
Misaligned Panels
Stop immediately and realign before the adhesive sets. Use a level for every few panels, and don't rush the process. Click-lock panels can often be reconnected if misaligned.
Panels are Warping or Peeling
Temperature or humidity extremes can cause warping. Make sure your panels are rated for your specific indoor environment. If warping occurs post-installation, a hairdryer can soften the adhesive for readjustment.
Gaps Between Panels
Gaps may appear due to poor measuring or uneven wall surfaces. Use caulk in matching colors to fill small spaces or install molding to cover larger gaps.
Showcasing User-Submitted Designs
Wallplanks customers have used theirDIY wall panels to create remarkable transformations. Here are a few inspiring user-submitted projects:
-
Modern Rustic Bedroom – A customer in Colorado used reclaimed wood panels for a stunning bedroom feature wall with a cozy cabin vibe.
-
Home Office Upgrade – A digital nomad in California customized a corner office with walnut-toned panels and shelving to create a productive yet serene workspace.
-
Hallway Revival – A New York couple used whitewashed panels down a narrow hallway to brighten the space and add visual interest.
-
Children's Room Mural – A creative parent painted a whimsical forest design directly onto natural wood panels, turning a child's bedroom into an imaginative retreat.
Wallplanks' Instagram feed and project gallery offer a wide range of ideas and real-life examples that showcase just how versatile and beautiful reusable wall panels can be.
Transform Your Walls with Wallplanks
Creating custom wall art withDIY wall panels is an empowering way to express creativity while enhancing your living space. With just a few tools, some thoughtful design, and high-quality reusable panels, you can transform any room into a stylish, personalized haven. Whether you're a first-time DIYer or a seasoned pro, this approach makes it easy to experiment, evolve, and make your home truly your own.
Ready to get started?
Explore premium, American-made wall panel solutionsat Wallplanks. Founded in 2017 by industry veteran Tryggvi Magnusson and backed by the manufacturing excellence of From the Forest, LLC, Wallplanks offers innovative products that are durable, beautiful, and easy to install. All materials are responsibly sourced from North America, ensuring that your design choices are both sustainable and stylish.
Unleash your creativity—your next great wall art project starts with Wallplanks.